Spraying Preparation & Cleaning Scale Models : Tutorial

Spraying Preparation & Cleaning
- Video Type: Tutorial
- Scale: All
- Presented By: Bobby waldron
- Number of Episodes: 1
- Camera Angels: 3
- Camera Definition: Full HD + 4K
- Modeling Area: Airbrushing
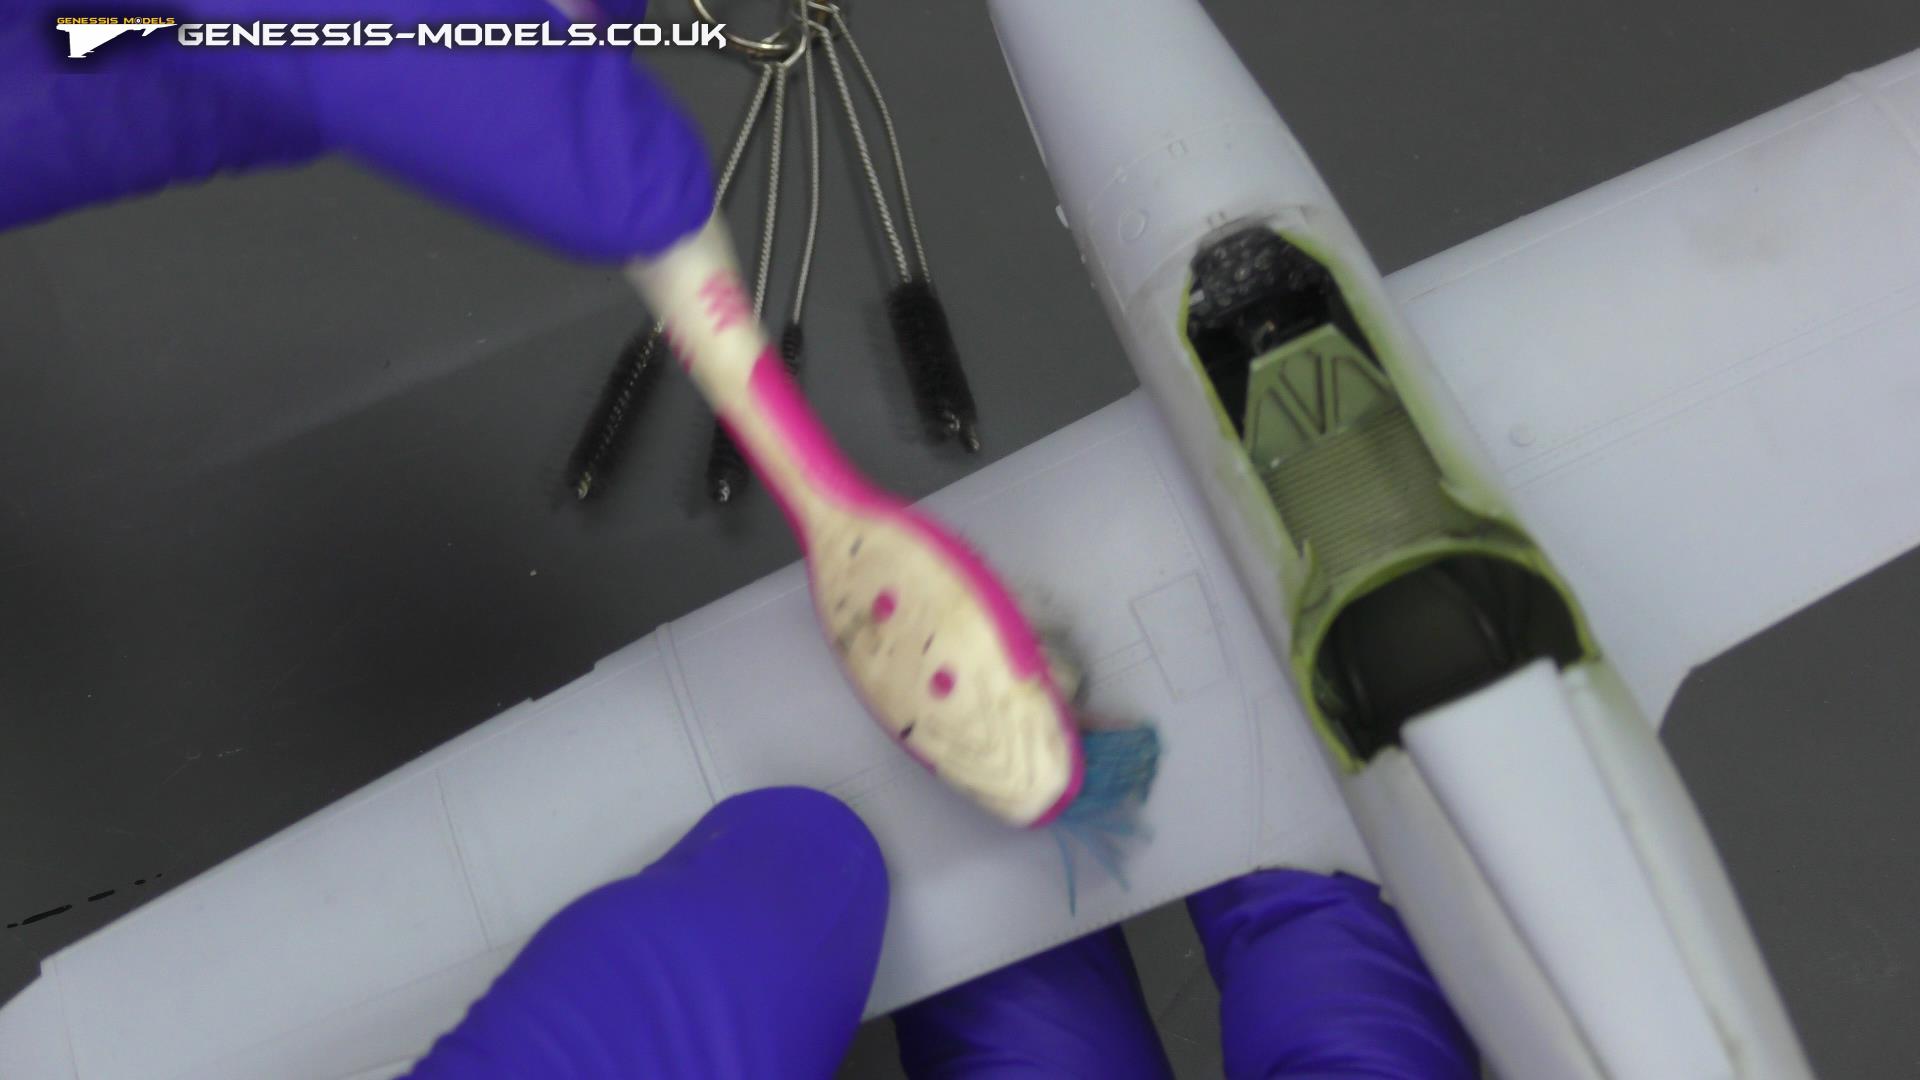
- Special Tools: Touthbrush
- Consumables: IPA
Proper surface preparation and thorough cleaning are the most critical steps to ensuring an even, durable paint finish on your scale models. Failing to remove manufacturing residues, sanding dust, or finger oils will cause your paint to bead, orange-peel, or chip away entirely.
Step 1: Initial Plastic Cleaning (The De-Greasing Wash)
When model kits are manufactured, a chemical known as a mold release agent is sprayed onto the steel molds so the plastic sprues release easily. This leaves an invisible, greasy film that repels paint.
-
- Prepare the Bath: Fill a clean tub or plugged sink with lukewarm water. Avoid hot water, as it can warp thin plastic parts.
- Add Detergent: Mix in a few drops of standard dishwashing liquid. Do not use soaps containing hand moisturisers or perfumes, which leave a new oily film behind.
- Gently Scrub: Submerge the parts (still on the sprues) and agitate them. Use a soft-bristled toothbrush or watercolor brush to gently scrub the recessed details, panel lines, and crevices.
- Rinse Thoroughly: Wash off all soap residue under running lukewarm water. Leftover soap is just as detrimental to paint adhesion as the mold release agent.
- Air Dry Fully: Place the sprues on fresh paper towels and let them air dry completely, ideally overnight. Do not wipe them with a standard towel, which introduces lint.
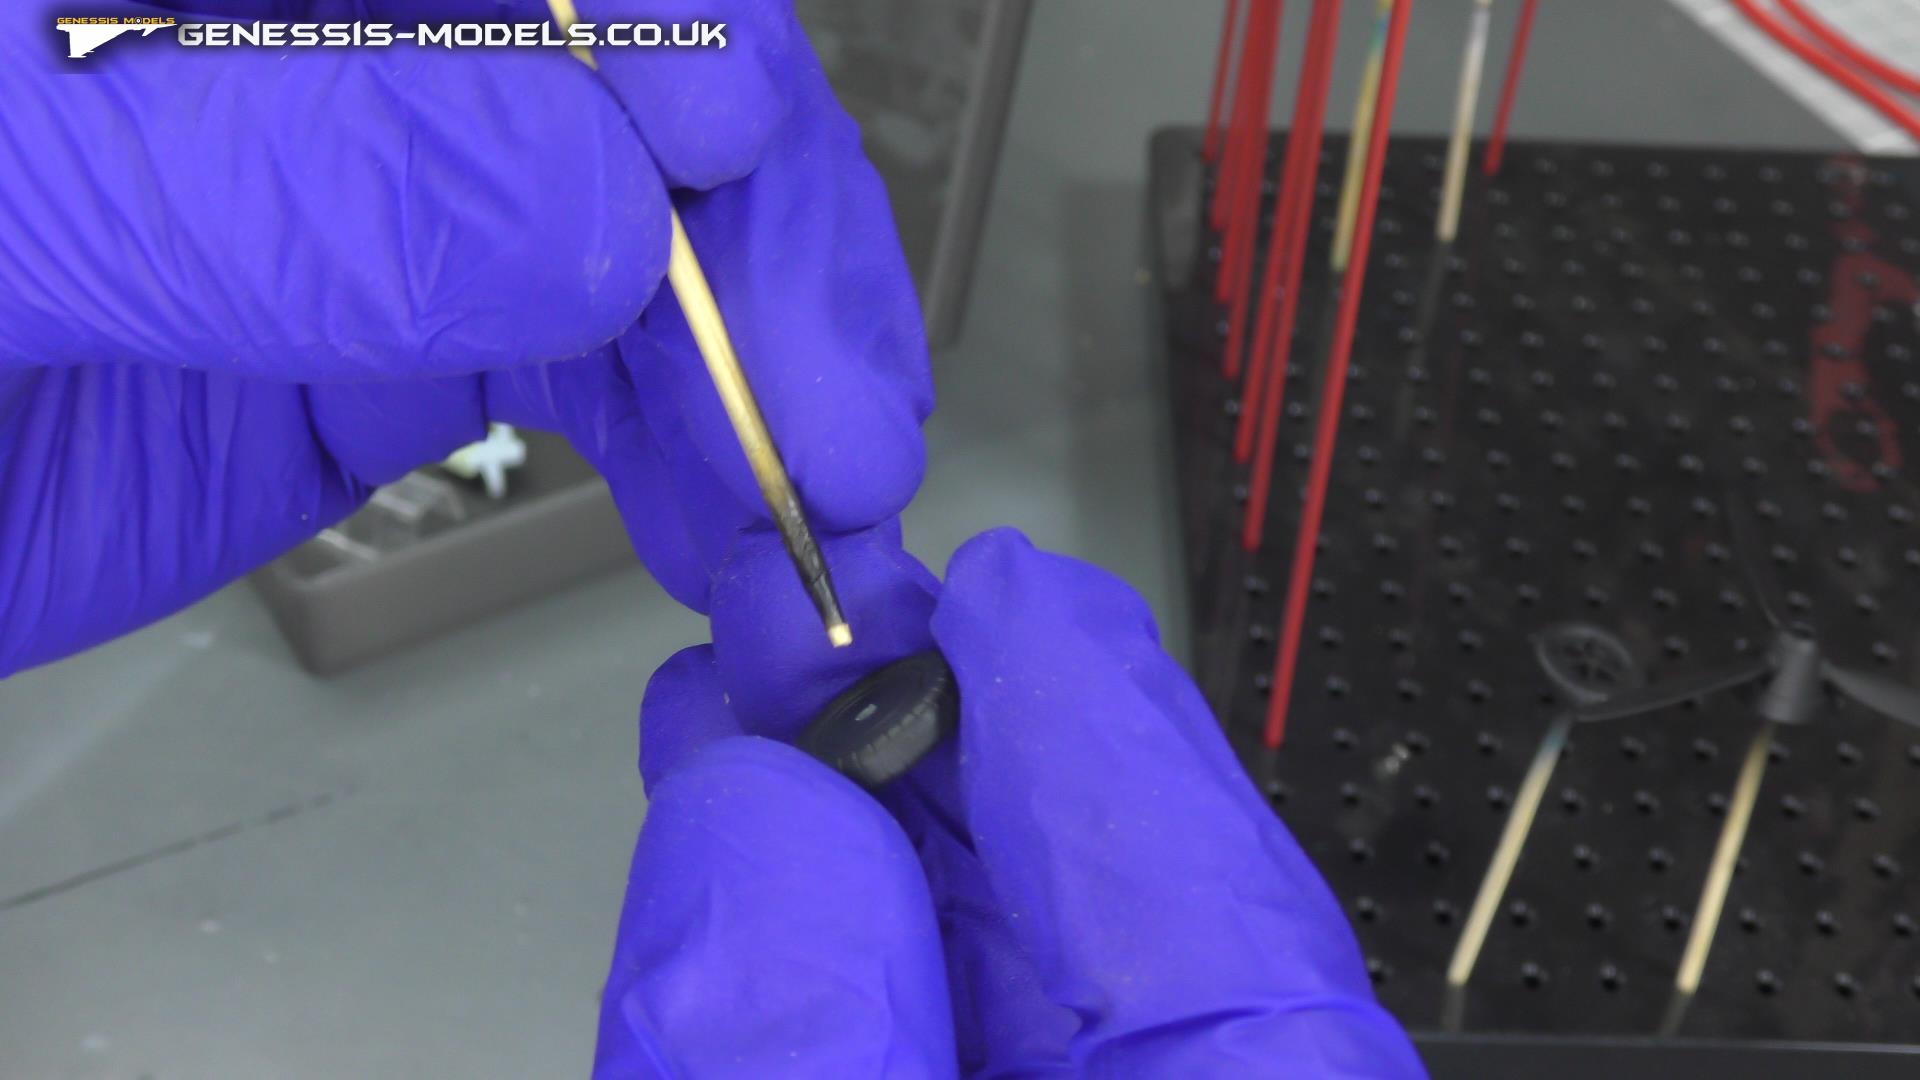
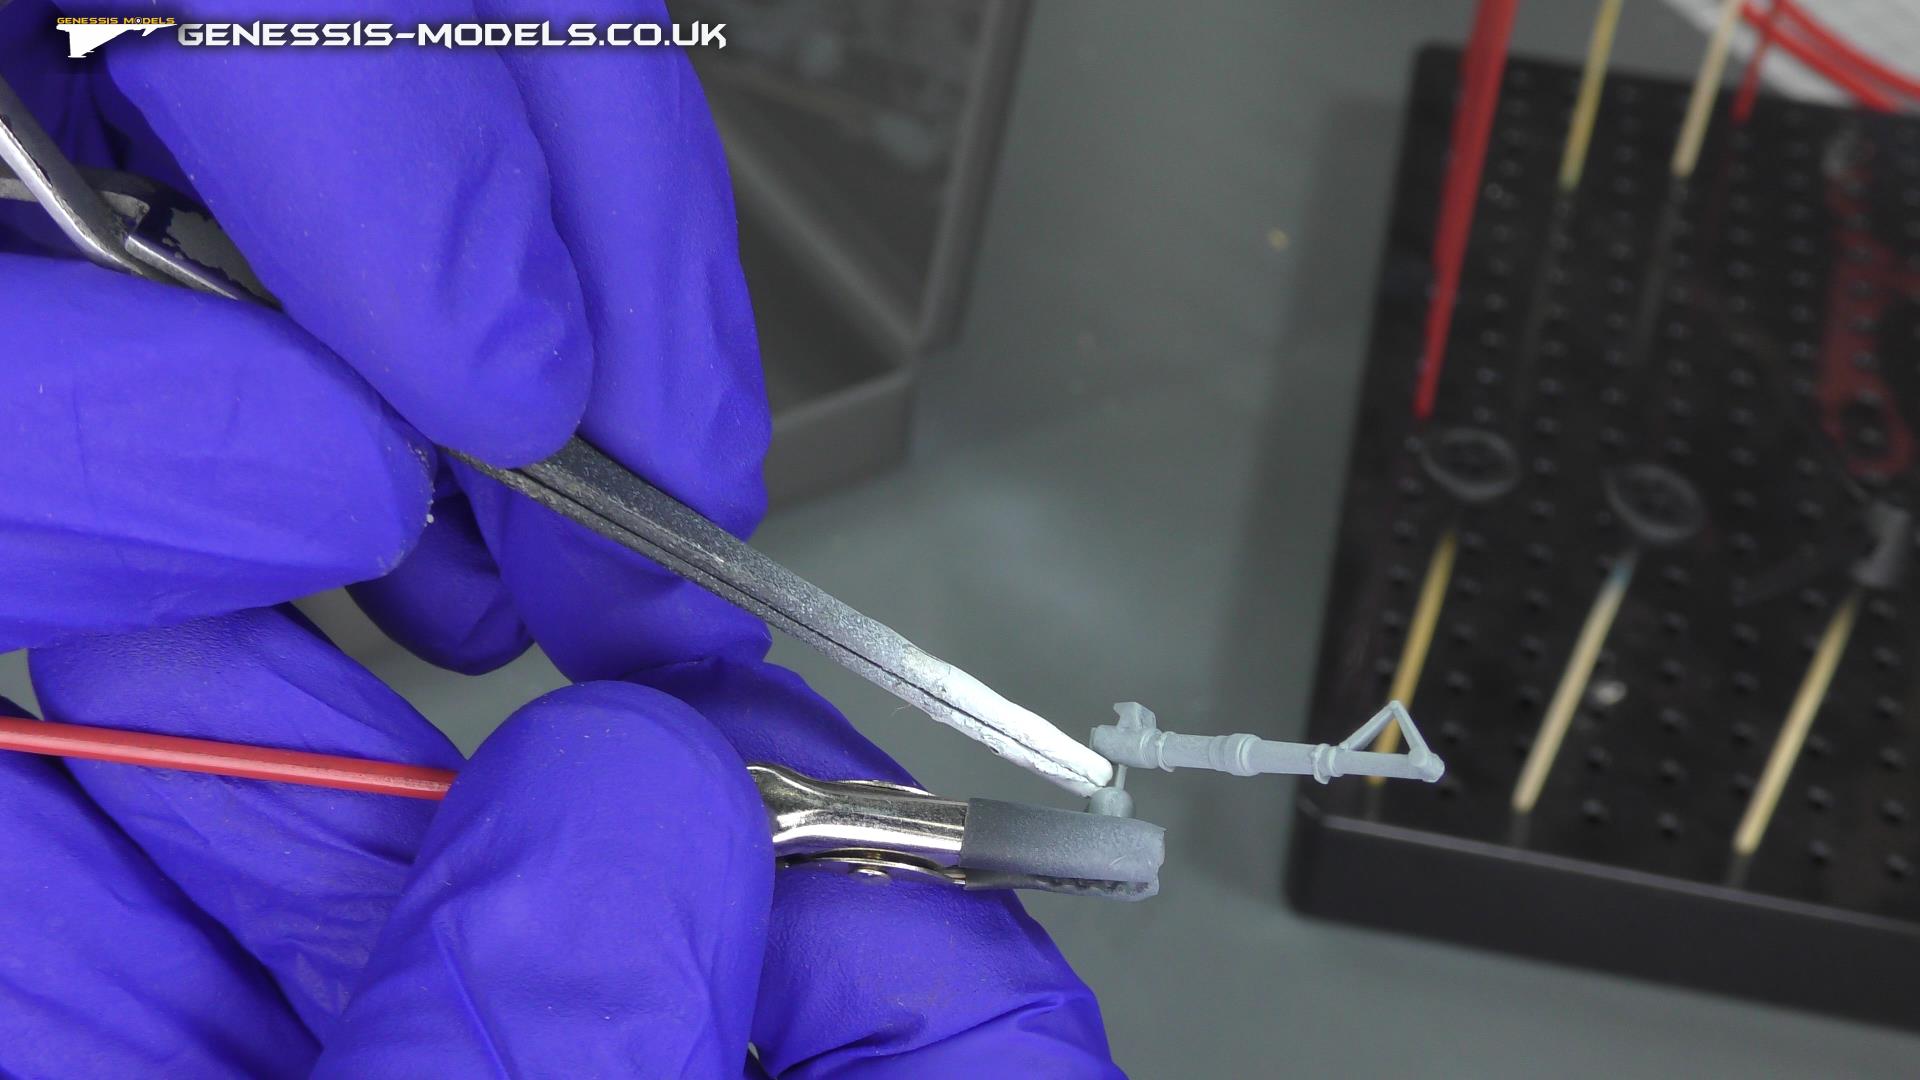
Step 2: Construction and Surface Prep
Building the model introduces new surface imperfections like seam lines, sprue nubs, and adhesive marks that must be eradicated before spraying.
-
- Remove Bracing and Nubs: Trim away sprue attachment points and temporary structural bracing using sharp hobby nippers.
- Sand the Flaws: Sand mold lines and rough spots smooth. Start with a coarser grit (e.g., 800 to 1000) for heavy material removal and graduate to a fine 1500 to 2000-grit sanding sponge to restore a uniform texture.
- Fix the Gaps: Apply a tiny amount of gap filler or CA glue to hairline cracks. Once fully cured, sand the filler completely flush with the surrounding plastic.
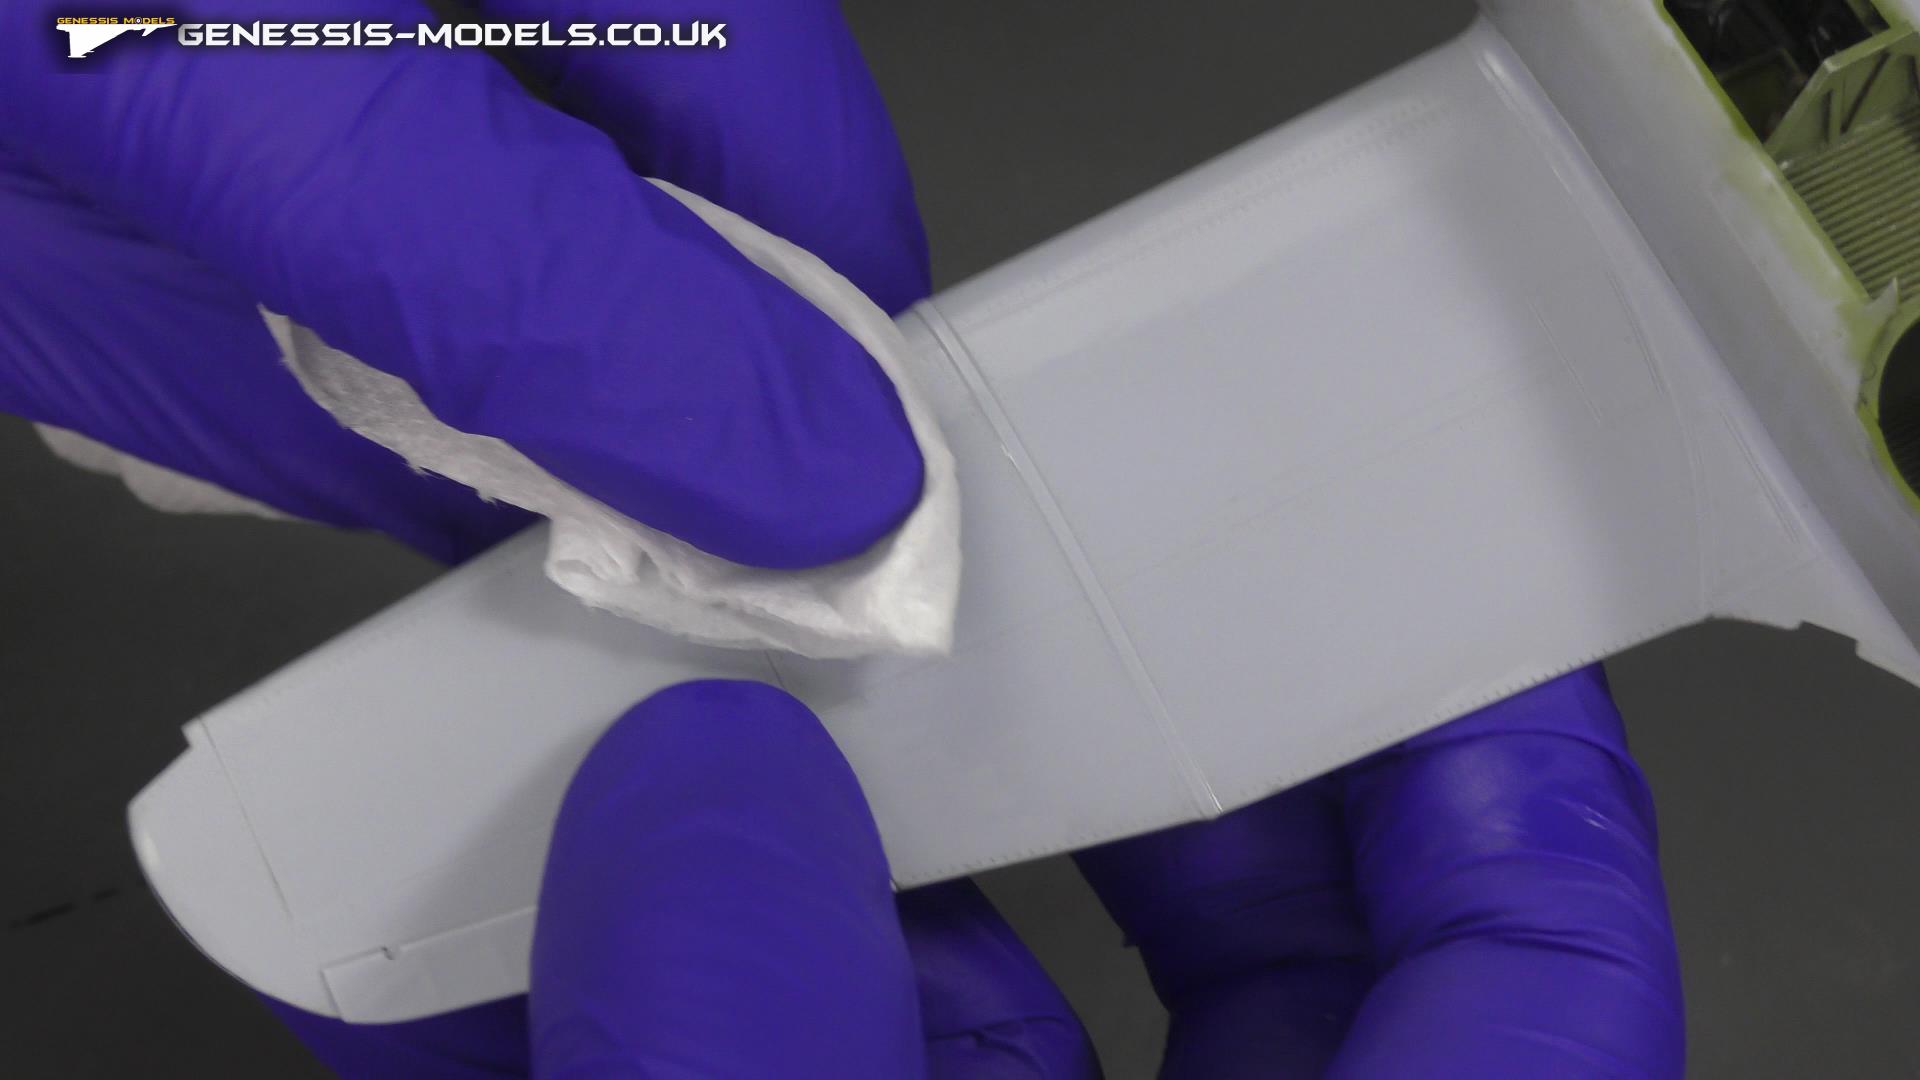
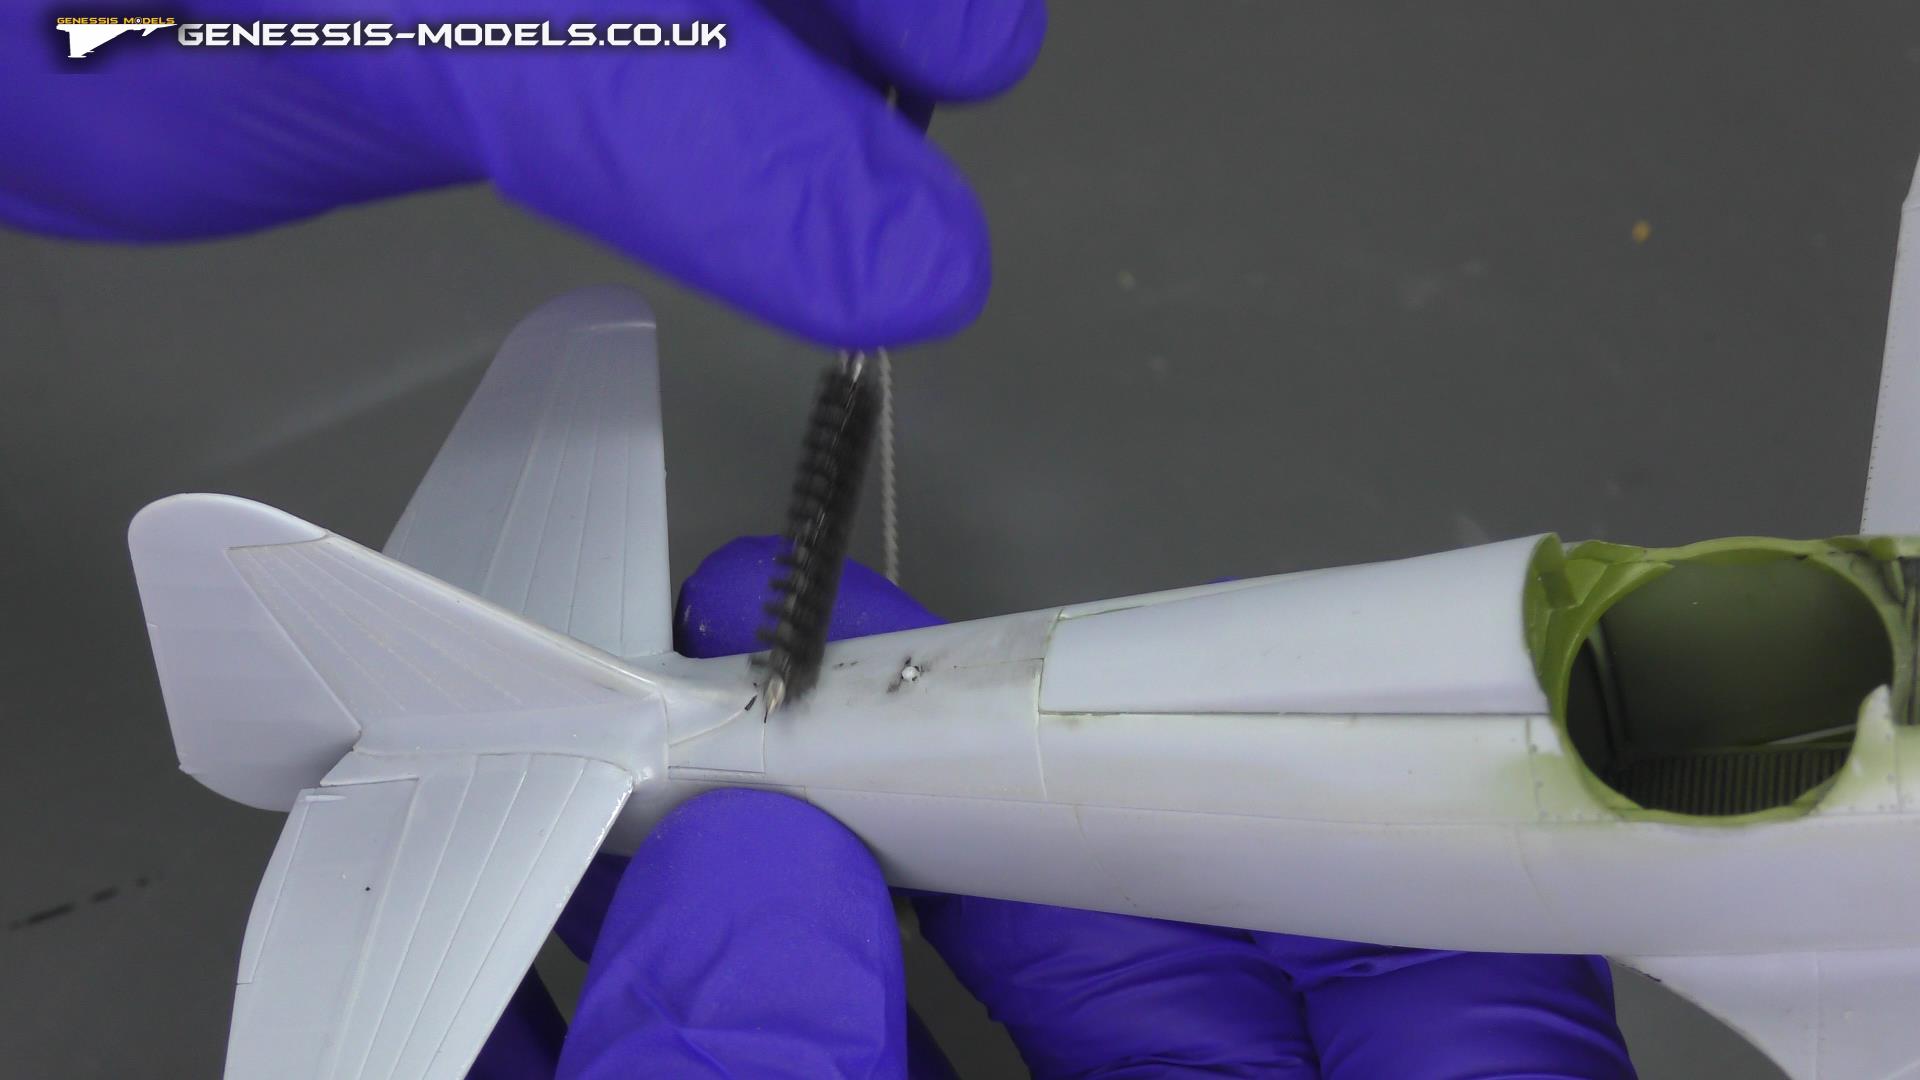
Step 3: Pre-Paint Wipe Down
Handling the model during assembly leaves behind skin oils, sweat, and a fine layer of plastic sanding dust.
- De-Dust the Surface: Use a clean, dry airbrush to blow away loose dust from tight panel lines, or pass a static-free tack cloth over the entire assembly.
- Alcohol Wipe: Moisten a lint-free cotton bud or microfiber pad with Isopropyl Alcohol (IPA). Wipe down all the exterior faces of the model to strip away skin grease.
- Safety Note: Keep alcohol away from any transparent clear plastic pieces, as it can cloud or craze them.
- Wear Gloves: From this stage onward, wear clean nitrile gloves whenever you handle the model to prevent recontaminating the bare plastic.
Subscribe Now For Unlimited Video Access

Spraying Preparation & Cleaning Scale Models : Tutorial
Video not available - You need to be subscribed to view these videos
Spraying Preparation & Cleaning Gallery