Building The Eduard A6M2 Zero 1/48 Scale : Basic Step By Step Video Build
Cost Of Full Video Series: £22.5

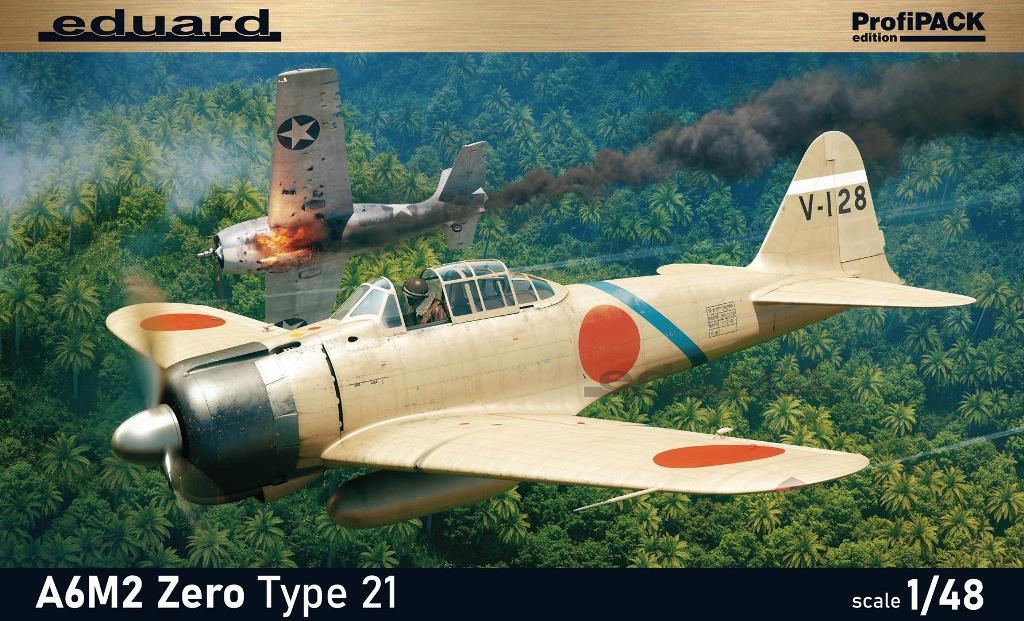
A6M2 Zero
- Manufacturer: Eduard
- Scale: 1/48
- Step By Step Level: Basic
- Presented By: Bobby waldron
- Number of Episodes: 11
- Camera Angels: 4
- Camera Definition: Full HD
- PE Parts Used: Yes
- Painting Mask Used: Yes
- Resin Parts Used: No
- Kit Used No: 82212
The Mitsubishi A6M “Zero” is a long-range carrier-based fighter aircraft formerly manufactured by Mitsubishi Aircraft Company, a part of Mitsubishi Heavy Industries, and was operated by the Imperial Japanese Navy from 1940 to 1945. The A6M was designated as the Mitsubishi Navy Type 0 carrier fighter (零式艦上戦闘機, rei-shiki-kanjō-sentōki), or the Mitsubishi A6M Rei-sen. The A6M was usually referred to by its pilots as the Reisen (零戦, zero fighter), “0” being the last digit of the imperial year 2600 (1940) when it entered service with the Imperial Navy. The official Allied reporting name was “Zeke”, although the name “Zero” (from Type 0) was used colloquially as well.
The Zero is considered to have been the most capable carrier-based fighter in the world when it was introduced early in World War II, combining excellent maneuverability and very long range. The Imperial Japanese Navy Air Service (IJNAS) also frequently used it as a land-based fighter.
In early combat operations, the Zero gained a reputation as a dogfighter, achieving an outstanding kill ratio of 12 to 1, but by mid-1942 a combination of new tactics and the introduction of better equipment enabled Allied pilots to engage the Zero on generally equal terms. By 1943, the Zero was less effective against newer Allied fighters due to design limitations. It lacked hydraulic boosting for its ailerons and rudder, rendering it extremely difficult to maneuver at high speeds. By 1944, with Allied fighters approaching the A6M levels of maneuverability and consistently exceeding its firepower, armor, and speed, the A6M had largely become outdated as a fighter aircraft. However, as design delays and production difficulties hampered the introduction of newer Japanese aircraft models, the Zero continued to serve in a front-line role until the end of the war in the Pacific. During the final phases, it was also adapted for use in kamikaze operations. Japan produced more Zeros than any other model of combat aircraft during the war.[
In box review Here
Buy Now For £22.5
Or
Subscribe For Unlimited Video Access

Basic & Fun Scale Modeling : Building The Eduard A6M2 Zero : 1/48 Scale : Video Build : Episode.1
Here we start the new Eduard 1/48 scale Zero, which we will be doing as a basic step by step video build, but with the added twist of also making it a quick fun mojo boosting build for all you vets out there.
So lets get started.
Consumables: Tamiya extra thin cement
Video not available - You need to purchase this video series or subscribe to view the videos in this series

In Box Review : A6M2 Zero Type 21 : Eduard : 1/48 Scale Model
Video not available - You need to purchase this video series or subscribe to view the videos in this series
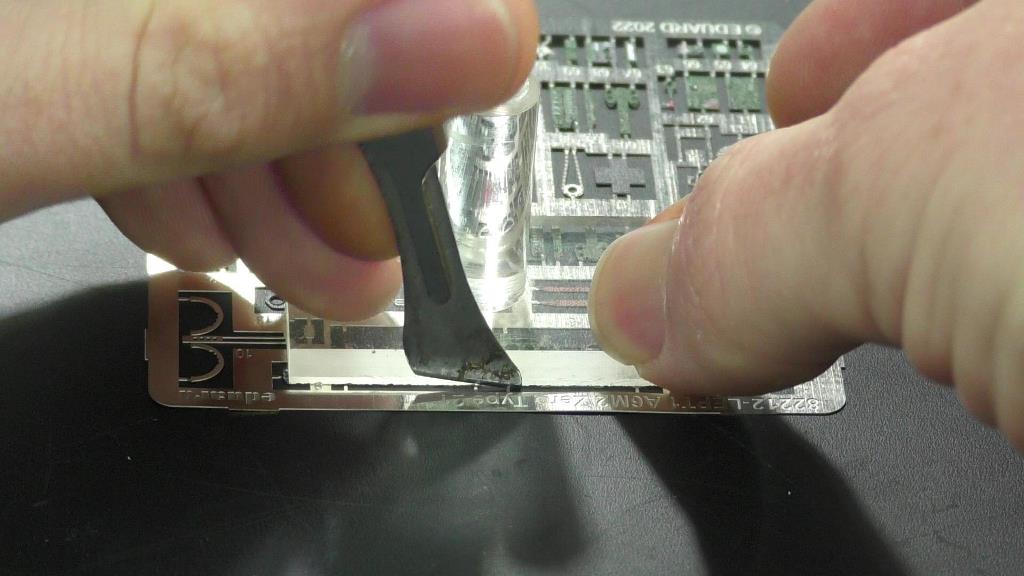
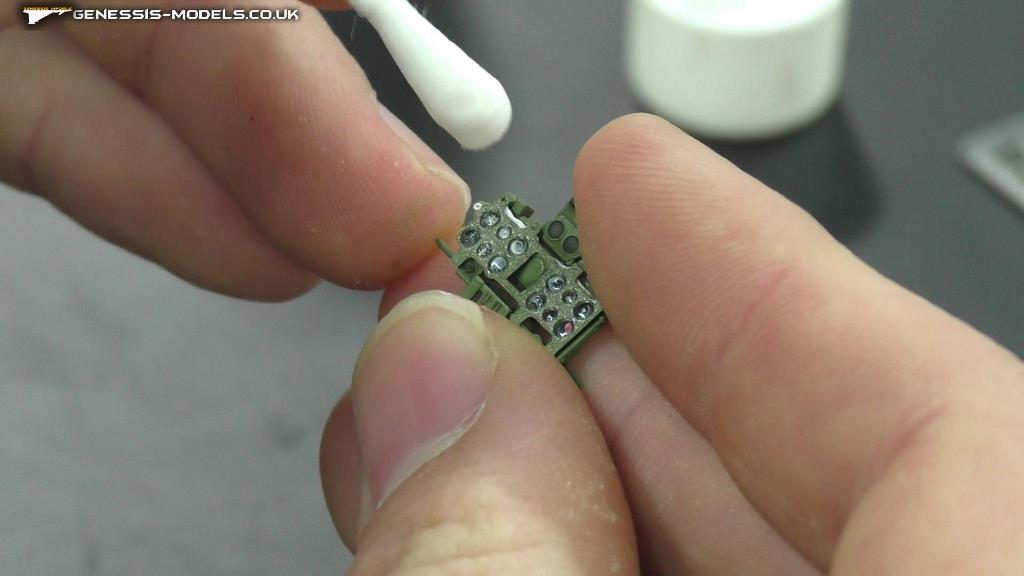
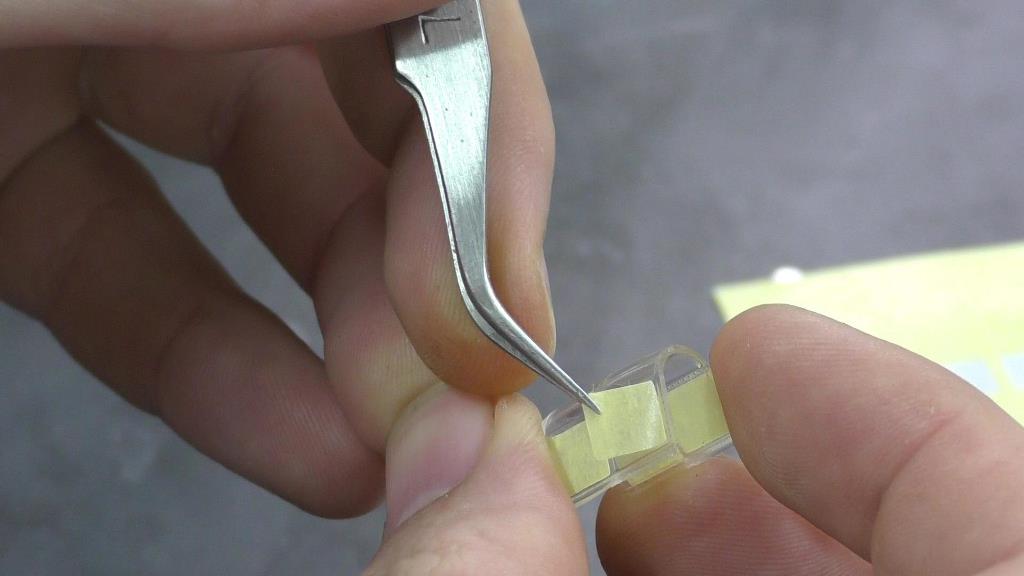
Basic Photo-etch & Spraying : Building The Eduard A6M2 Zero : 1/48 Scale : Video Build : Episode.2
In episode two we begin by spraying the cockpit all nice and basic, I then show you how to weather the cockpit in the most easy fast fun but effective way, and finally finish of with some nice and easy photo-etch.
Special Tools: Number 9 blade
Consumables: Tamiya XF-71, Citadel shade athonian camoshade
Video not available - You need to purchase this video series or subscribe to view the videos in this series
Photo-etch & Gluing : Building The Eduard A6M2 Zero : 1/48 Scale : Video Build : Episode.3
We continue with finishing the photo-etch, showing you how to glue on your instrument display panel, this is followed by using micro crystal clear to make our own little glass window, with finally getting some nice foundations down in gluing our fuselage together.
Special Tools: Cloths pegs
Consumables: Micro Kristal Klear
Video not available - You need to purchase this video series or subscribe to view the videos in this series
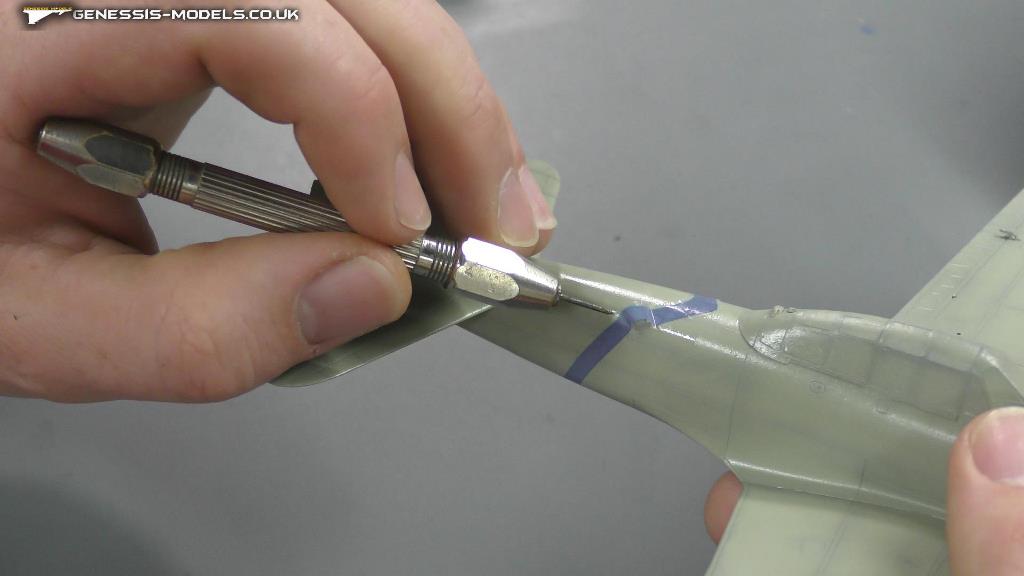
Basic Sanding & Scribing : Building The Eduard A6M2 Zero : 1/48 Scale : Video Build : Episode.4
We have some nice basics in this episode, starting with some sanding and how to check your sanding and filling is all good to go for spraying, second we look at the best way to get you going with your scribing nice and easy.
Special Tools: Tamiya P-Cutter
Consumables: Tamiya Masking Tape
Video not available - You need to purchase this video series or subscribe to view the videos in this series
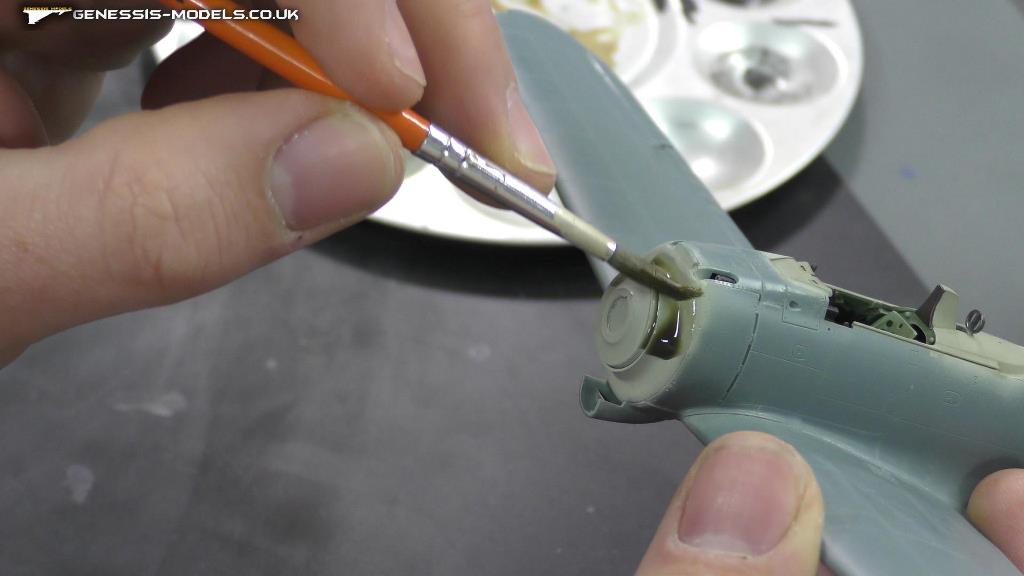
Canopy Time : Building The Eduard A6M2 Zero : 1/48 Scale : Video Build : Episode.5
We got lots of little bits in this episode, but the main features are building the engine cowl, which has a nice template to build it with, and dipping your canopy with Gauzy agent, and all the aspects of masking the canopy as well.
Special Tools: Angled Tweezers
Consumables: Tamiya extra thin cement
Video not available - You need to purchase this video series or subscribe to view the videos in this series
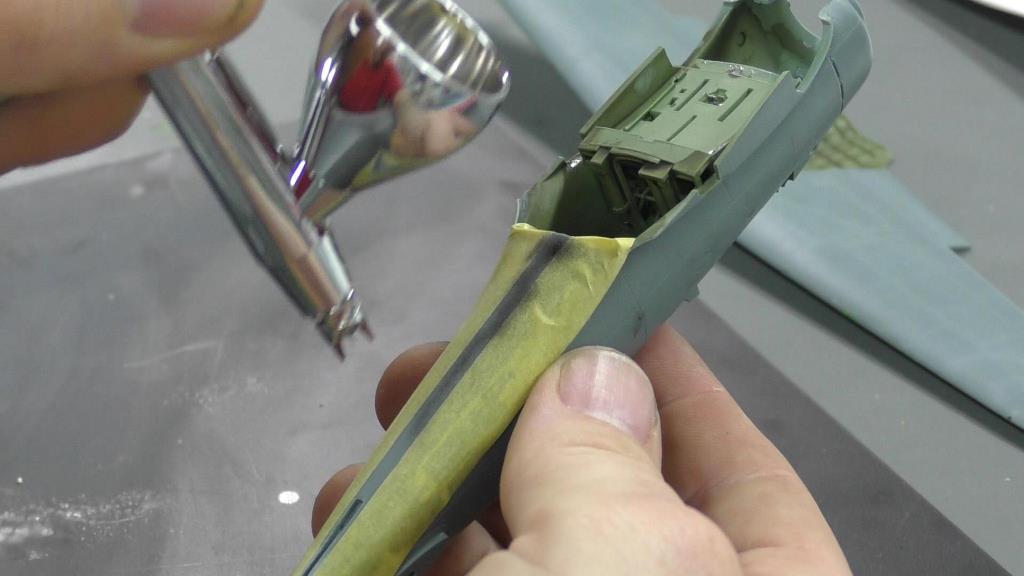
Spraying Prep : Building The Eduard A6M2 Zero : 1/48 Scale : Video Build : Episode.6
Its time to get the canopy on now using good old Micro Kristal Klear, after which we will go over some fundamentals of preparing your model for airbrushing, like cleaning, how to mount your little pieces and getting the right color down over your canopy first.
Special Tools: Airbrush
Consumables: Micro Kristal Klear / XF-71 Cockpit Green (IJN)
Video not available - You need to purchase this video series or subscribe to view the videos in this series
Pre-Shading : Building The Eduard A6M2 Zero : 1/48 Scale : Video Build : Episode.7
Now that we are in the spraying stage, we start off with priming the model with some tips like sanding out any blemishes, but with out damaging the primer, this is followed by a nice guide of pre-shading and making sure we don’t kill of the pre-shading work we have done.
Special Tools: Airbrush Tamiya : Metal Paint Stirrers
Consumables: XF-76 Gray Green (IJN)
Video not available - You need to purchase this video series or subscribe to view the videos in this series
NMF & Decaling : Building The Eduard A6M2 Zero : 1/48 Scale : Video Build : Episode.8
We finish of from the last episode with getting Intermediate gauzy agent sprayed on for a good gloss coat ready for decaling, but before we start the decaling with use Mr.metal color paints for our engine, and finally we begin the decaling stage using the Mr mark setter and softer decaling solutions.
Special Tools: Tamiya : Decal Scissors Tamiya : Decal Tweezers
Consumables: Mr Hobby : Mark Setter Neo
Video not available - You need to purchase this video series or subscribe to view the videos in this series
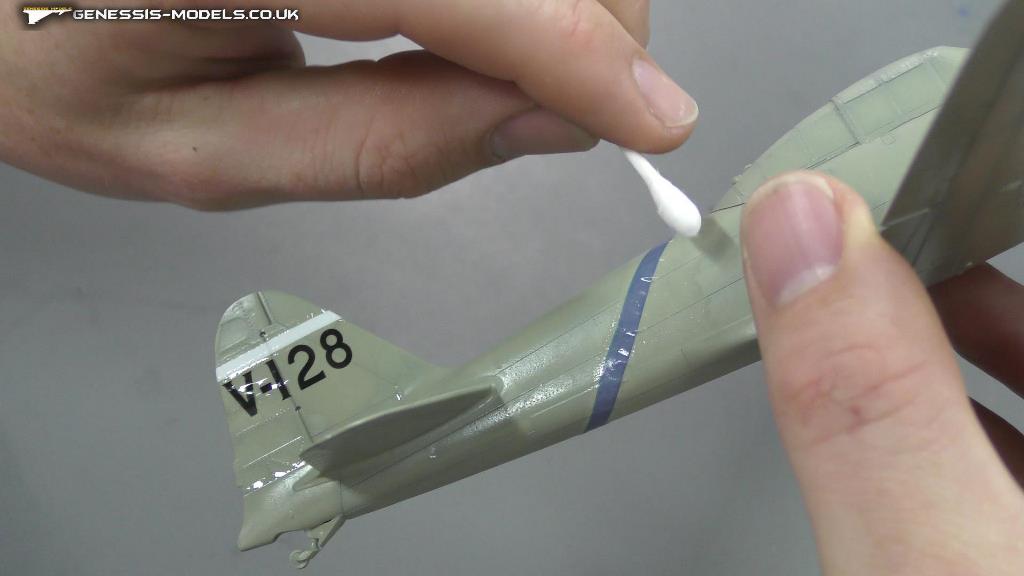
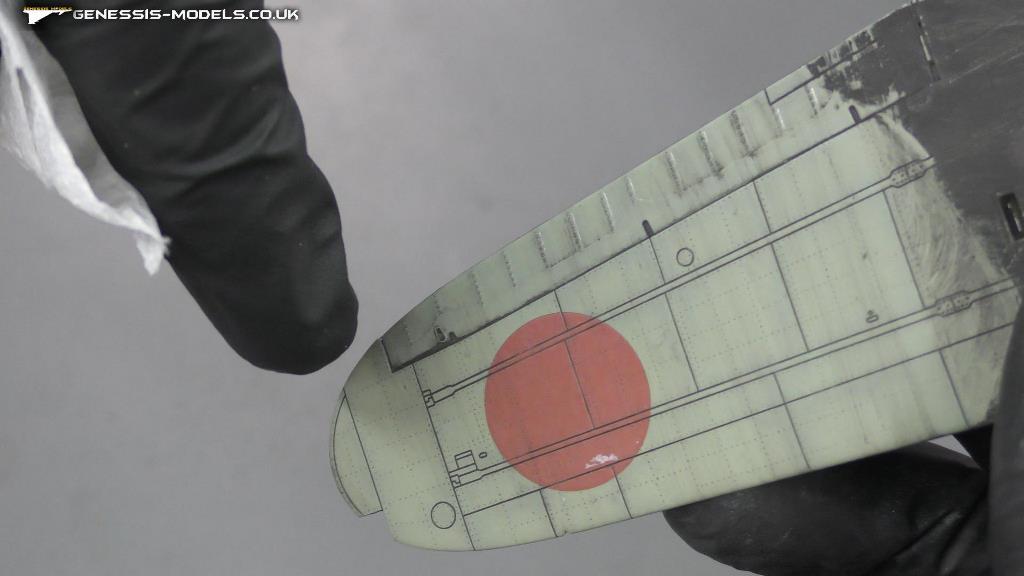
Spraying Wheels & Decaling : Building The Eduard A6M2 Zero : 1/48 Scale : Video Build : Episode.9
We finish of the decaling in this video showing you a hard one that wraps around the fuselage, Mr mark setter and softer are a good one for this decals too, finally we work on masking and spraying our wheels as well as some brush painting.
Special Tools: Tamiya : Masking Tape : 6mm Airbrush
Consumables: Mr Hobby : Mark Setter Neo
Video not available - You need to purchase this video series or subscribe to view the videos in this series
Weathering Stage : Building The Eduard A6M2 Zero : 1/48 Scale : Video Build : Episode.10
Into the weathering part of this build now, I start of with showing you how to make your own weathering wash, with some of the best pigments I’ve personally used, Tamiya weathering masters is also a good effect you can make nice easy and fun, and we do some streaking effects with Mr hobby’s weathering liner.
Special Tools: Mr Hobby : Mr Weathering Liner Mud Colour Set
Consumables: Mr Hobby : Mr Weathering Pastel : Set 2
Tamiya : Weathering Master : Set B : Snow, Soot And Rust
Video not available - You need to purchase this video series or subscribe to view the videos in this series
Final Reveal : Building The Eduard A6M2 Zero : 1/48 Scale : Video Build : Episode.11
The final episode is here and she is all done, we finalize the build with how to line up your landing gear, taking advantage of thin and thick super glues, we also try out Mr.Hobby’s Flat varnish for the first time to she how that turns out, over all this has been a great build and is well recommended.
Special Tools: Tamiya : Modeler’s Side Cutter : Gray
Consumables: Mr Hobby : T-104 : Mr Color Thinner : Lacquer
Tamiya : Mini XF-71 Cockpit Green (IJN) : Acrylic
Video not available - You need to purchase this video series or subscribe to view the videos in this series
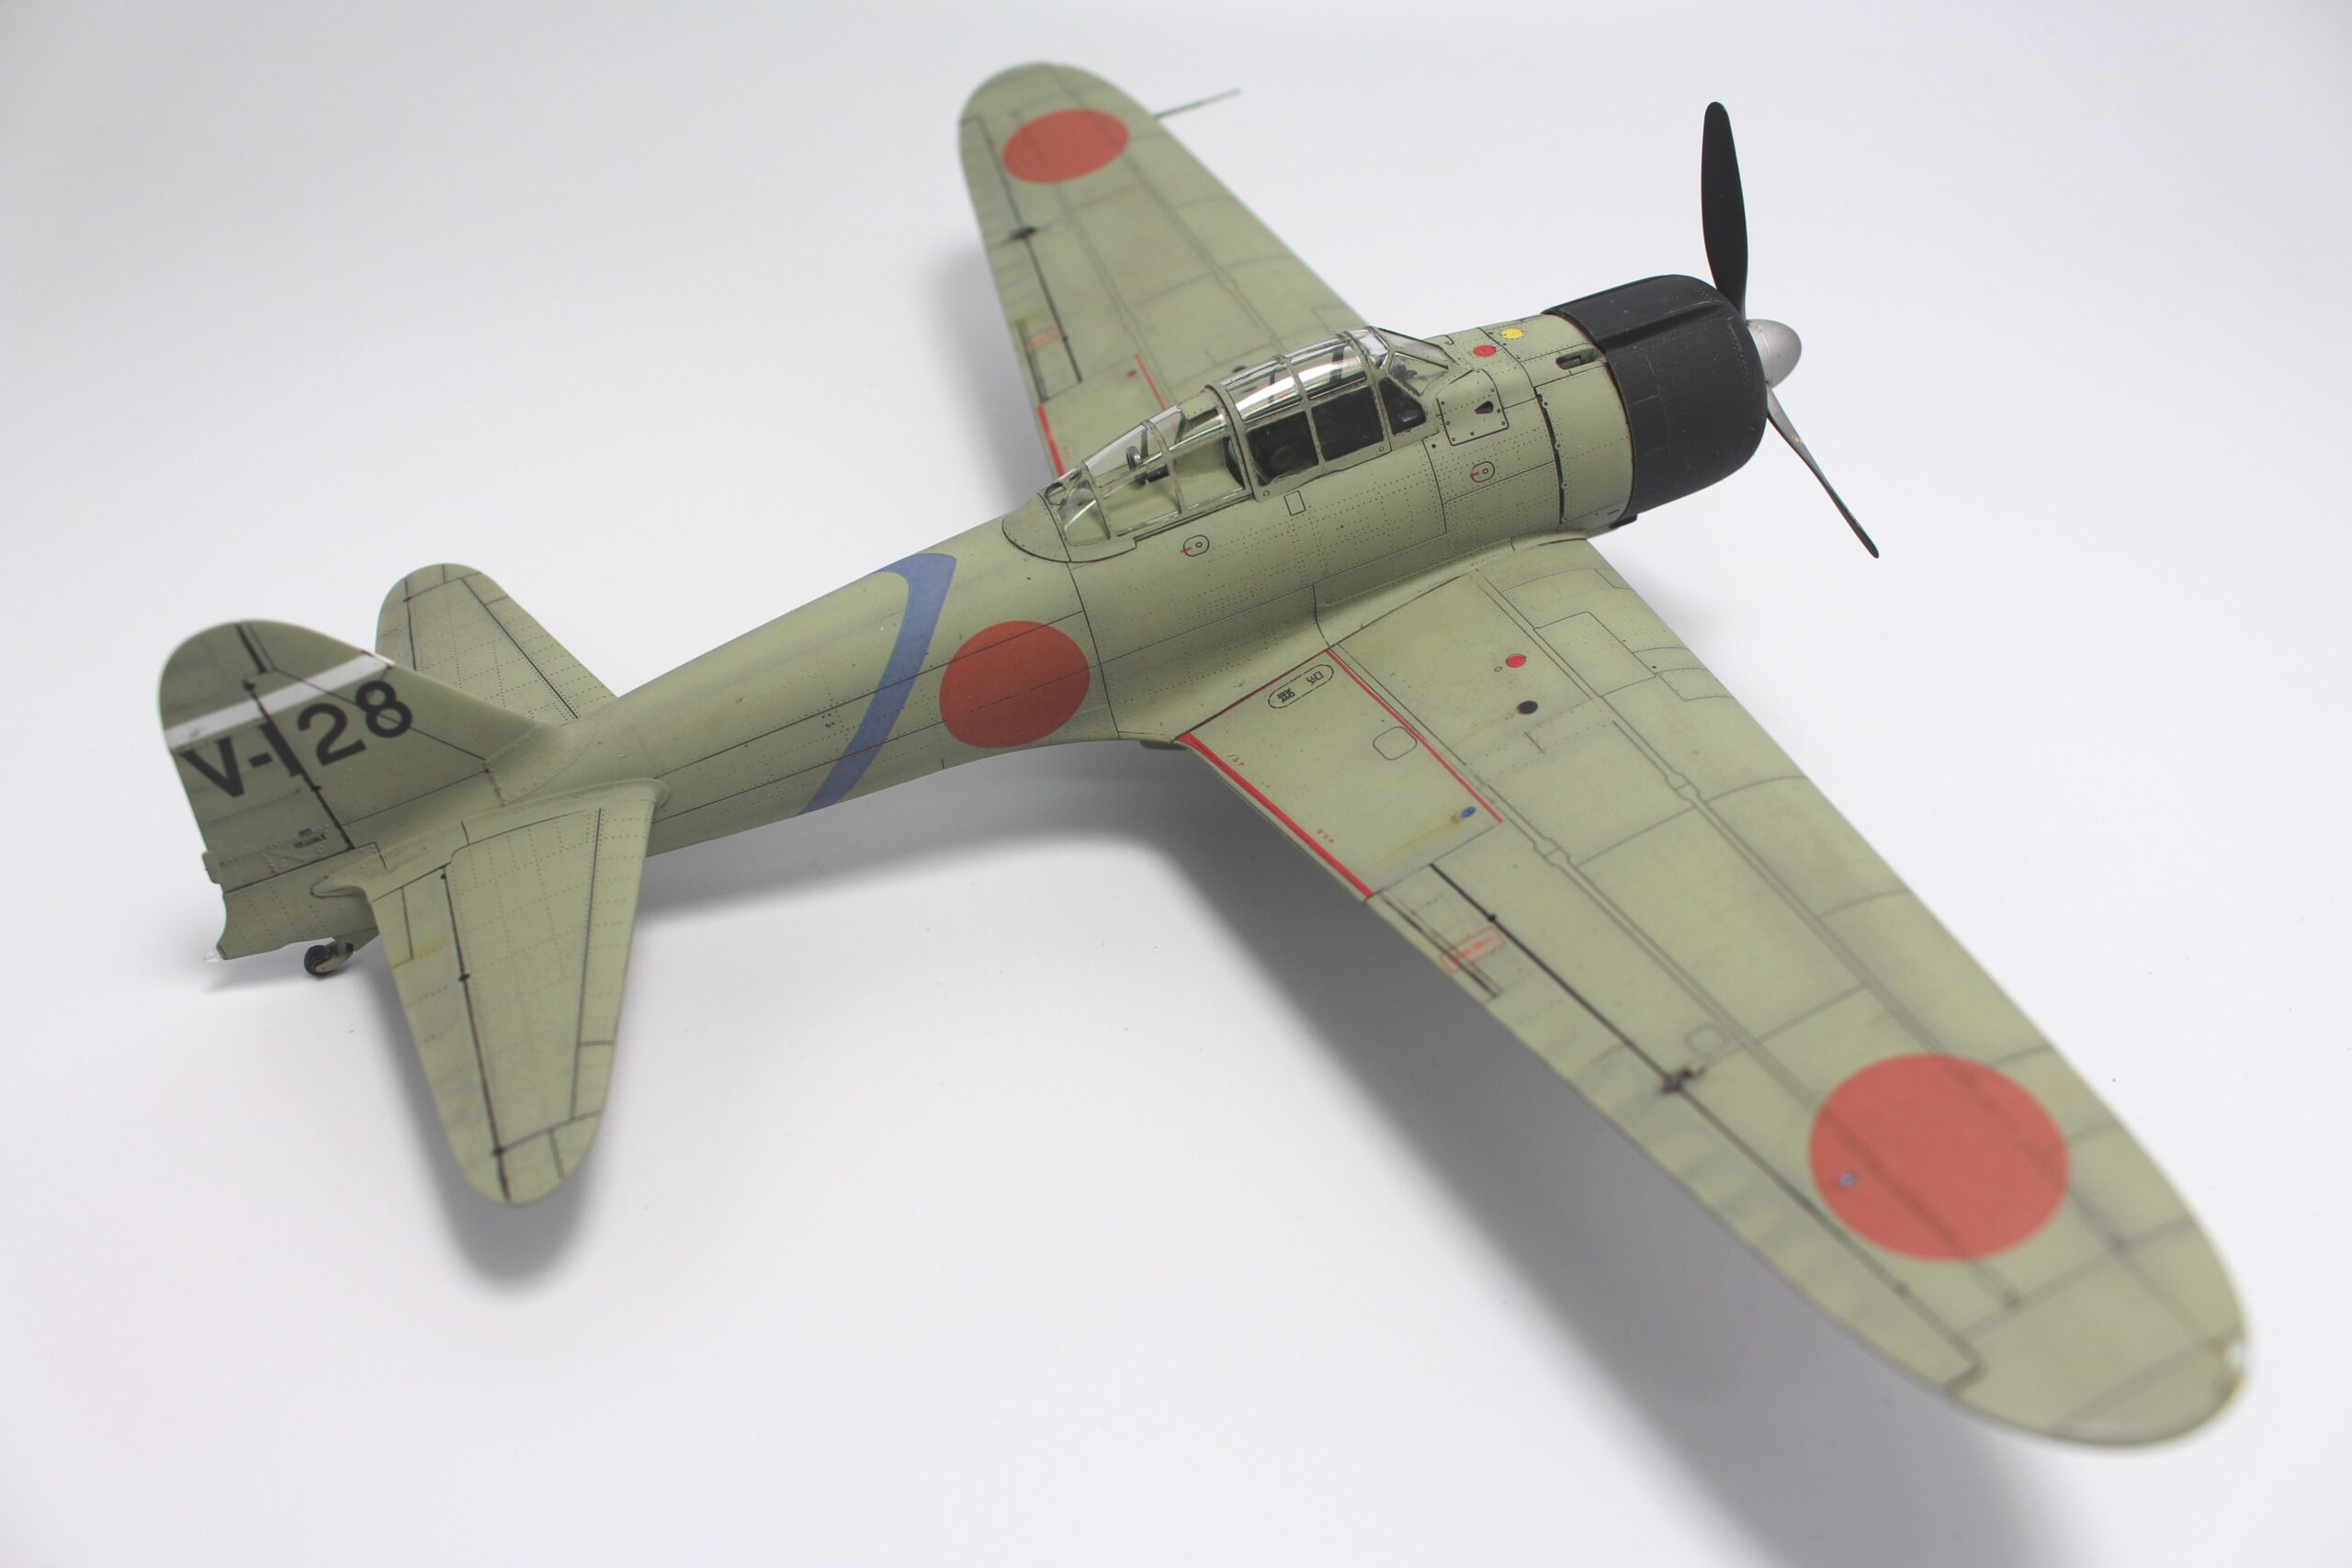
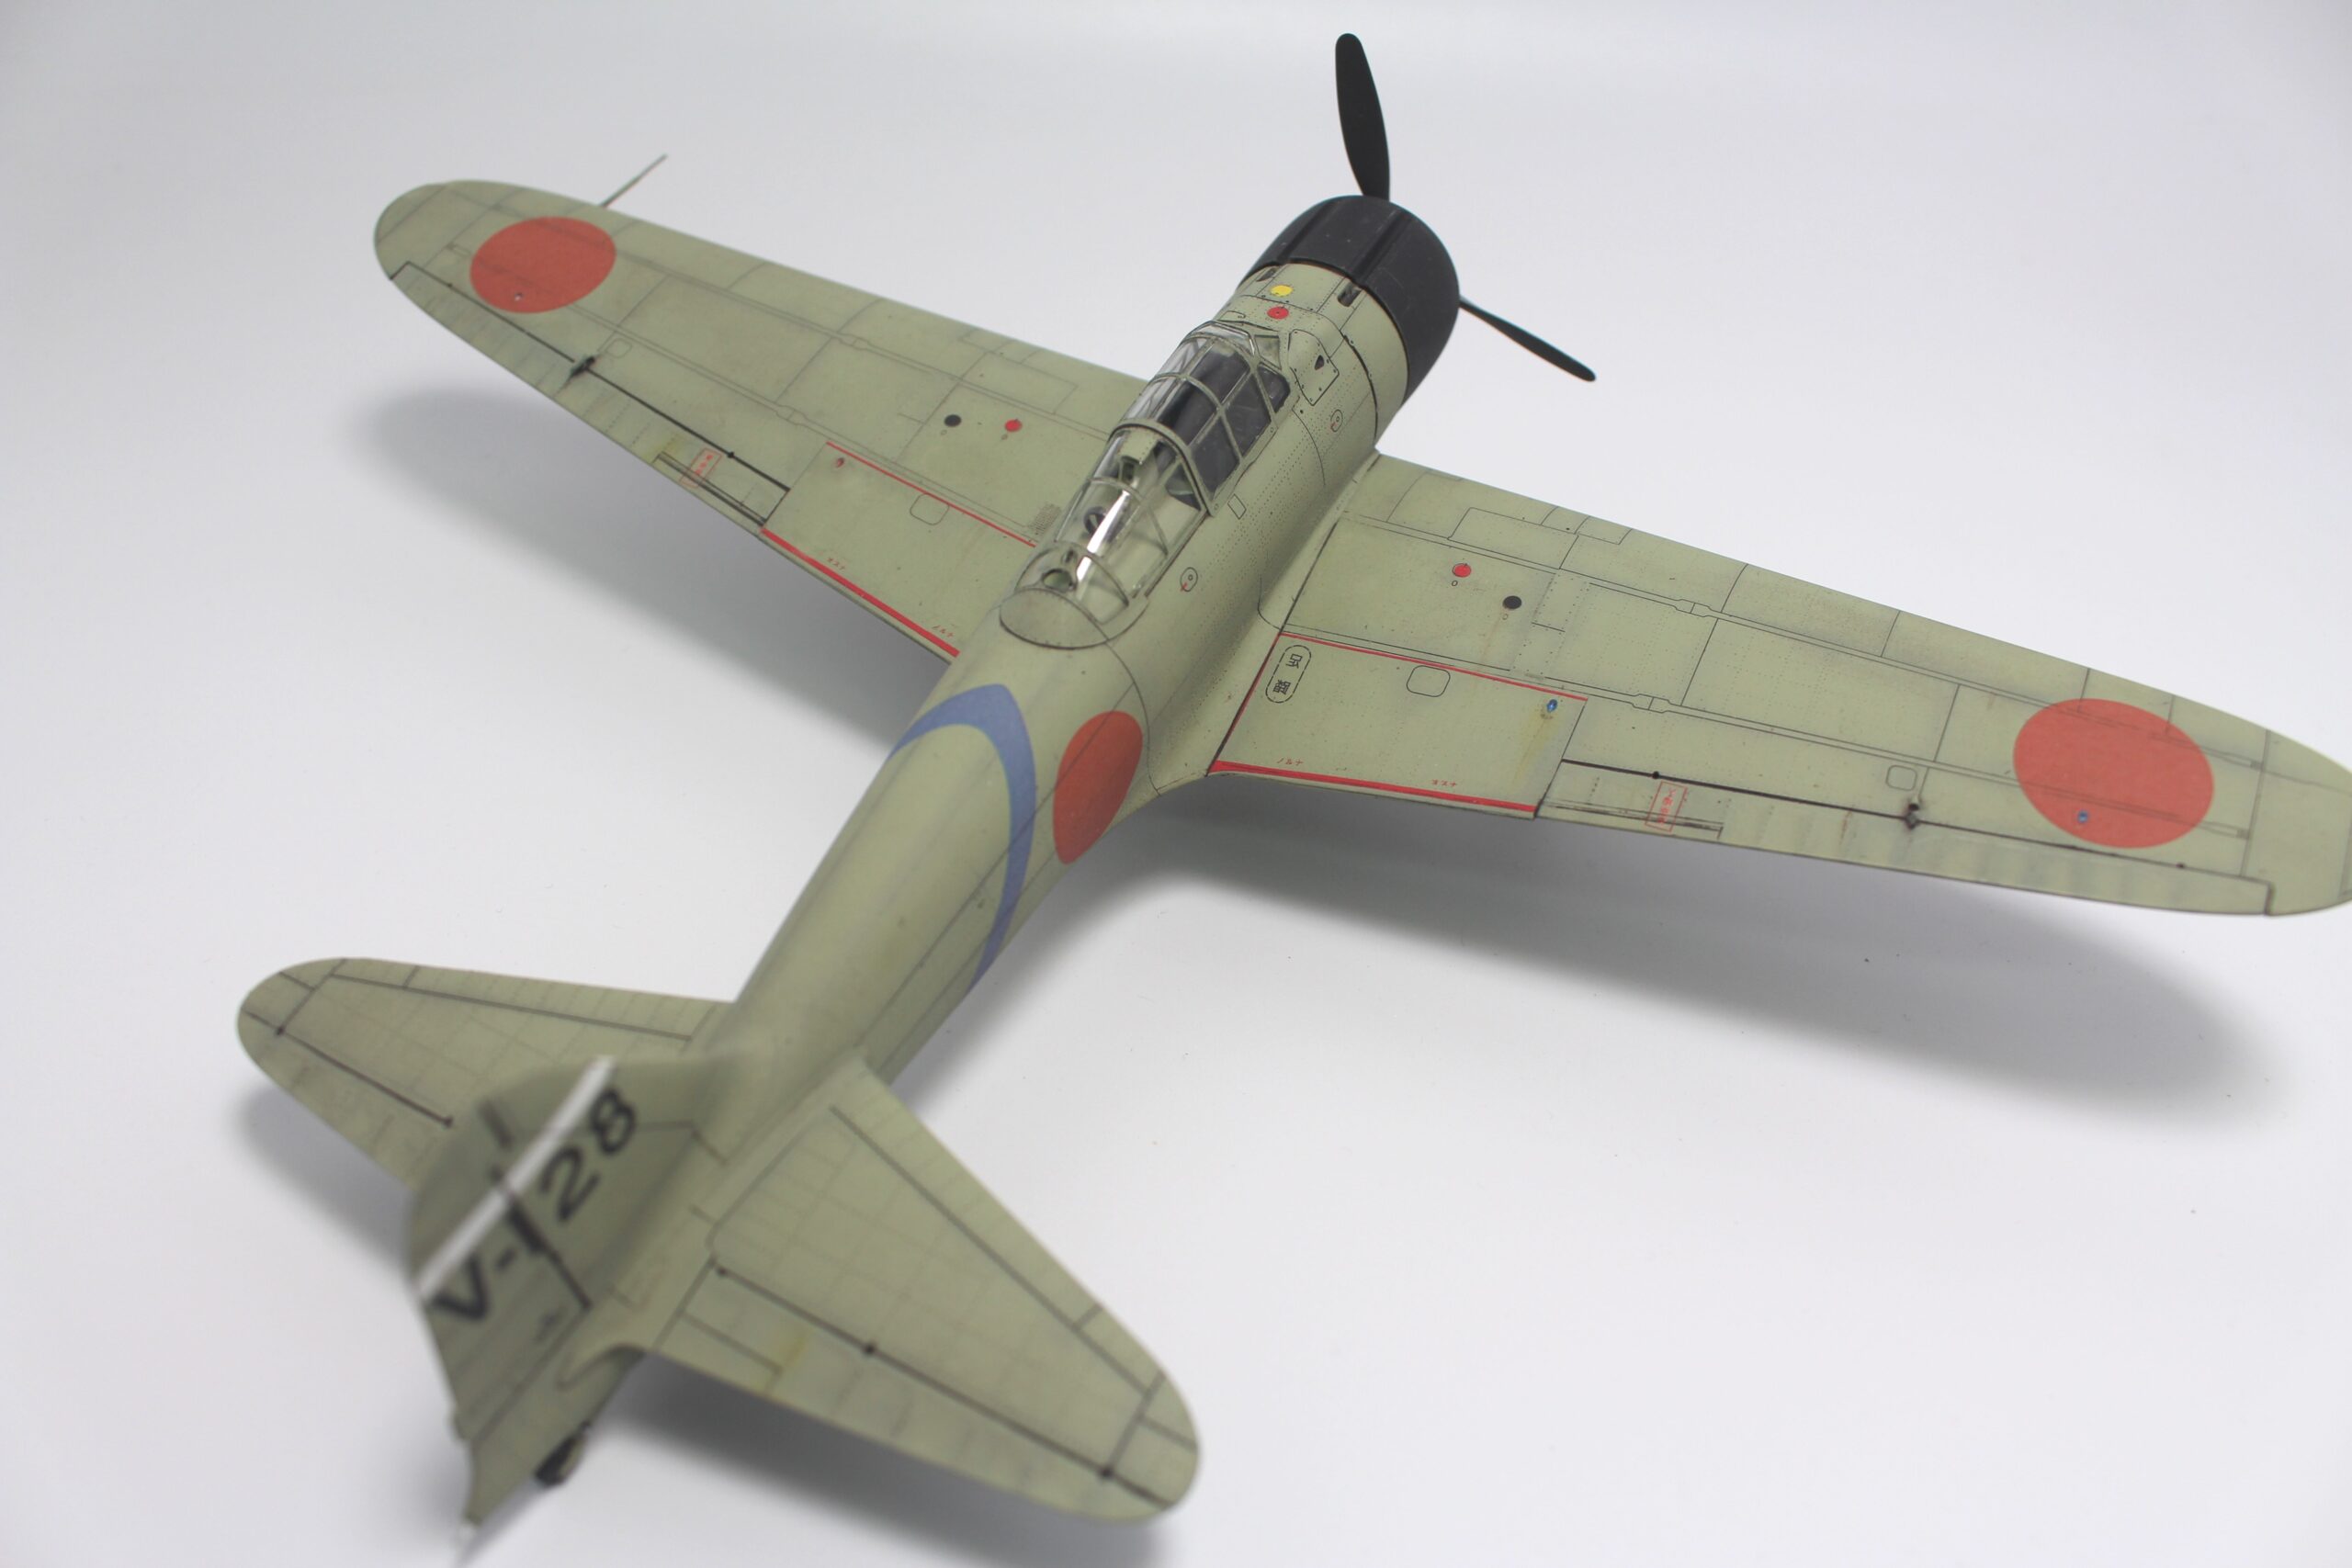
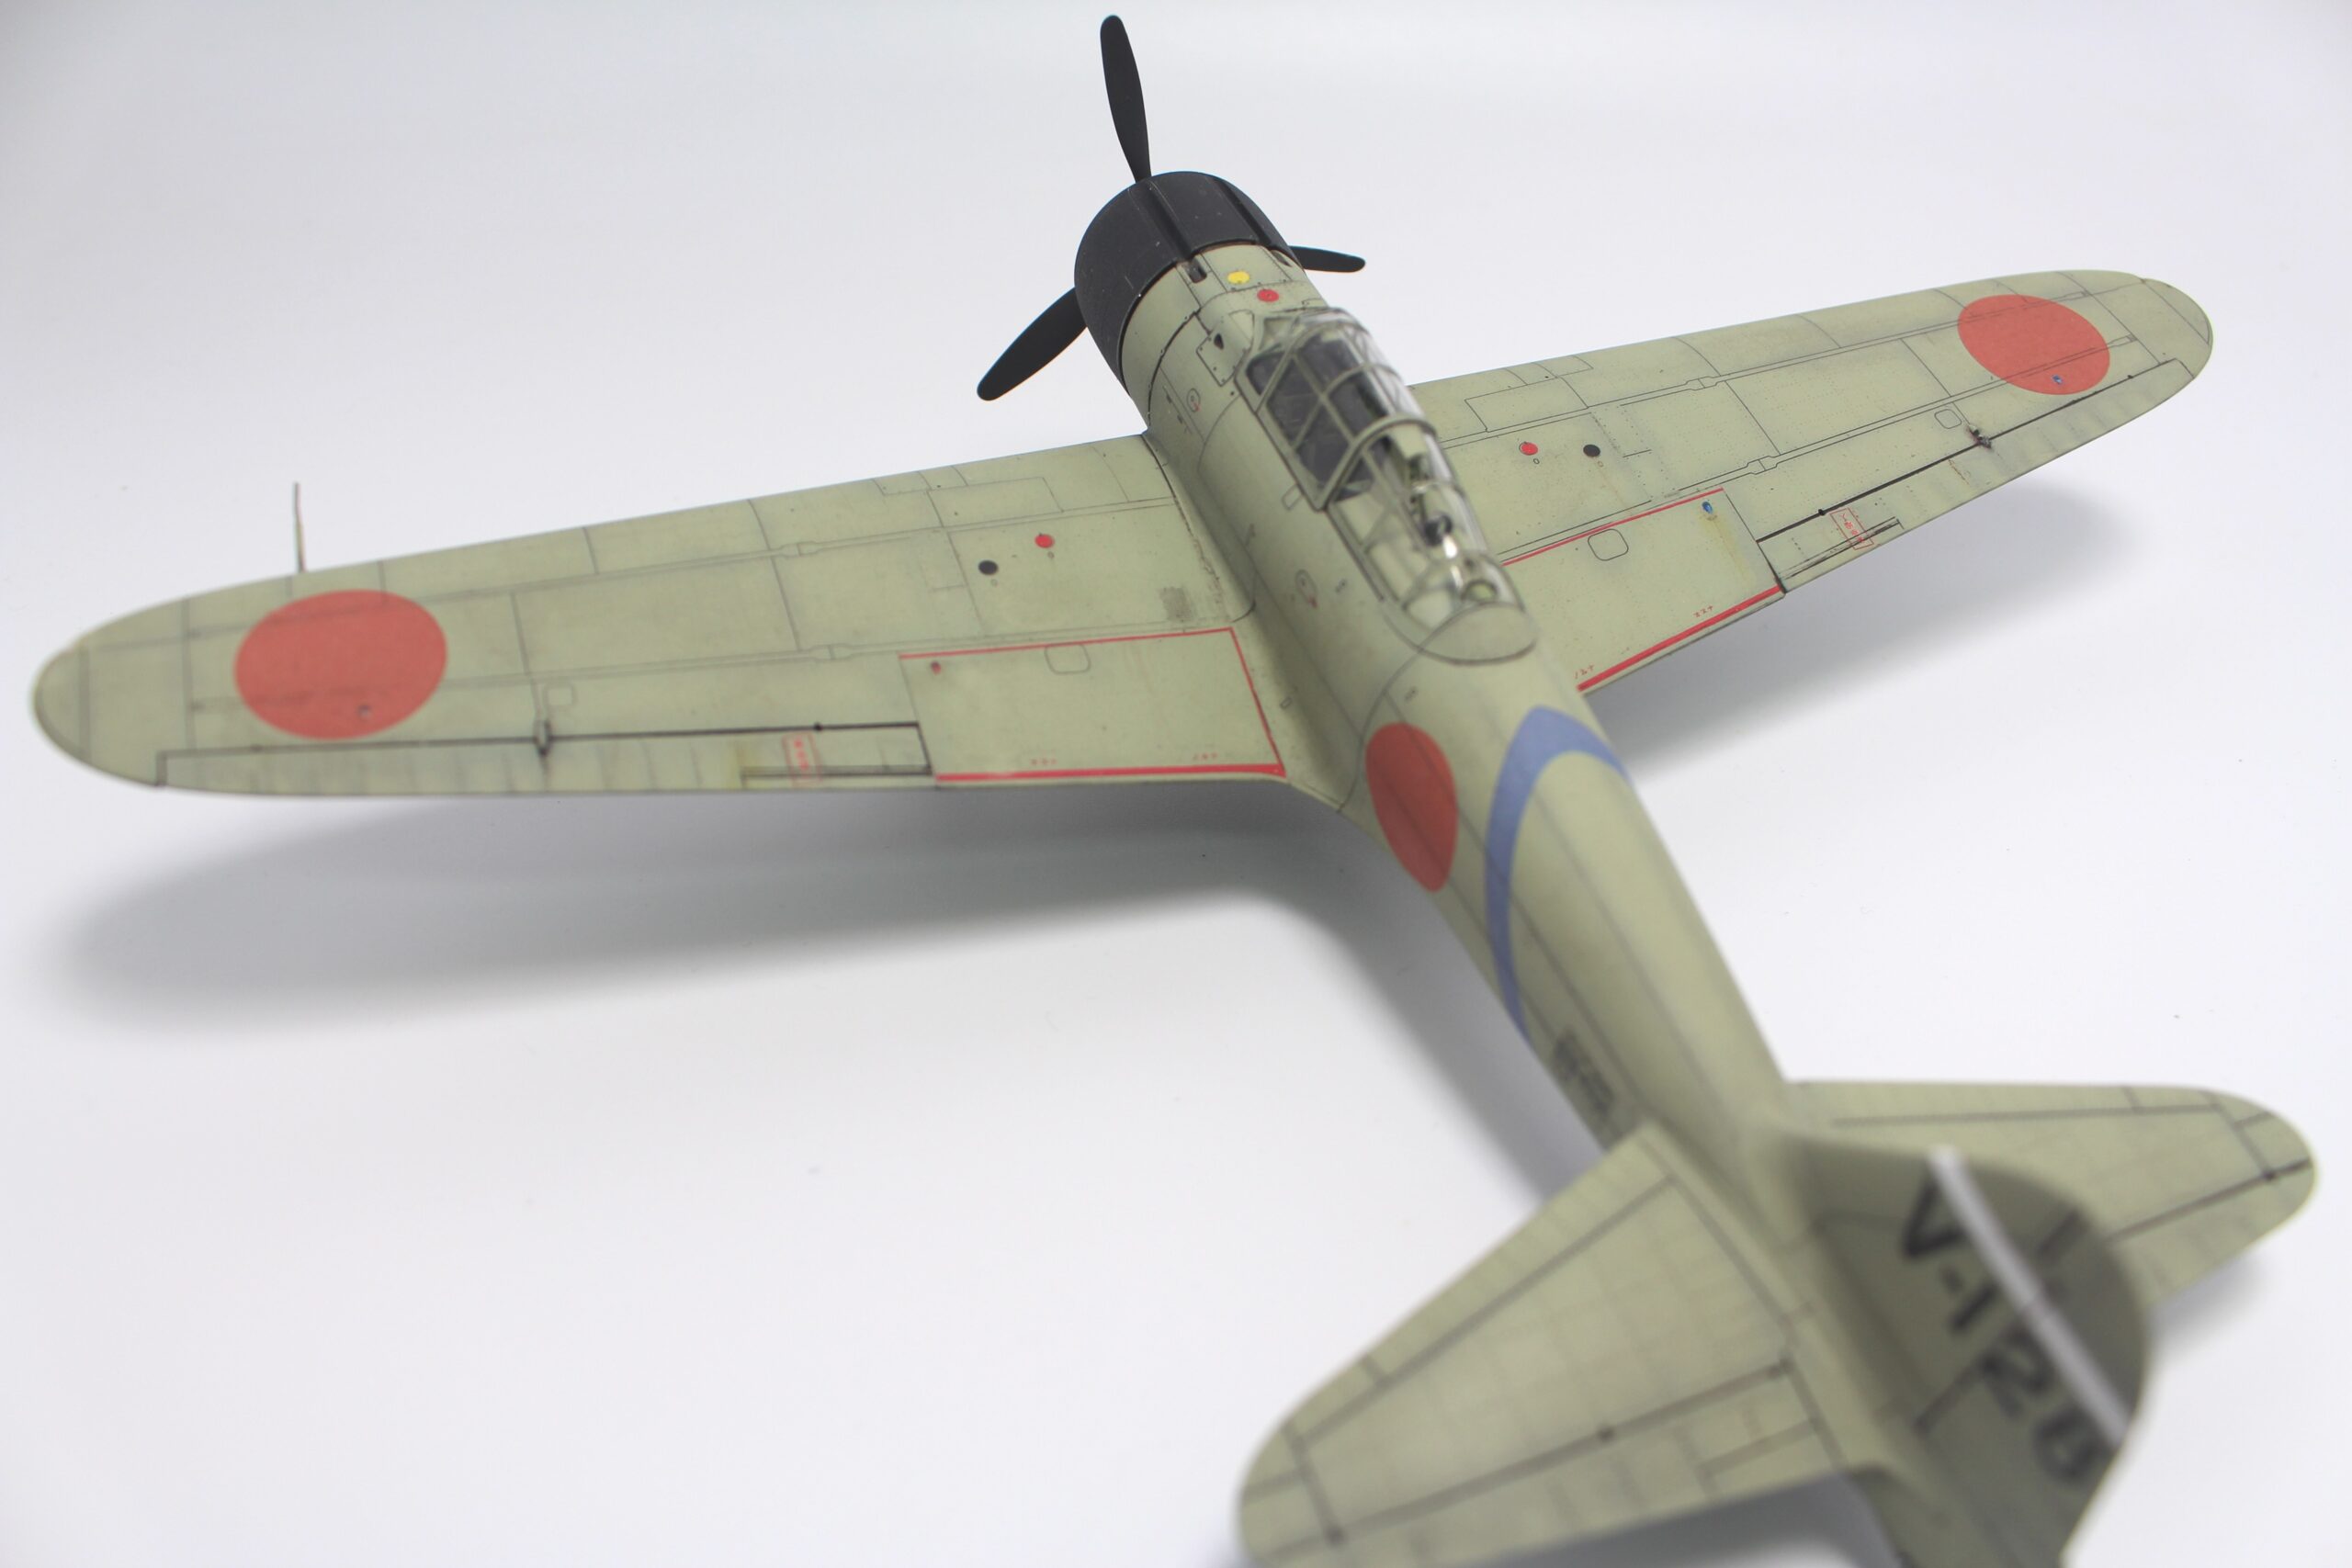
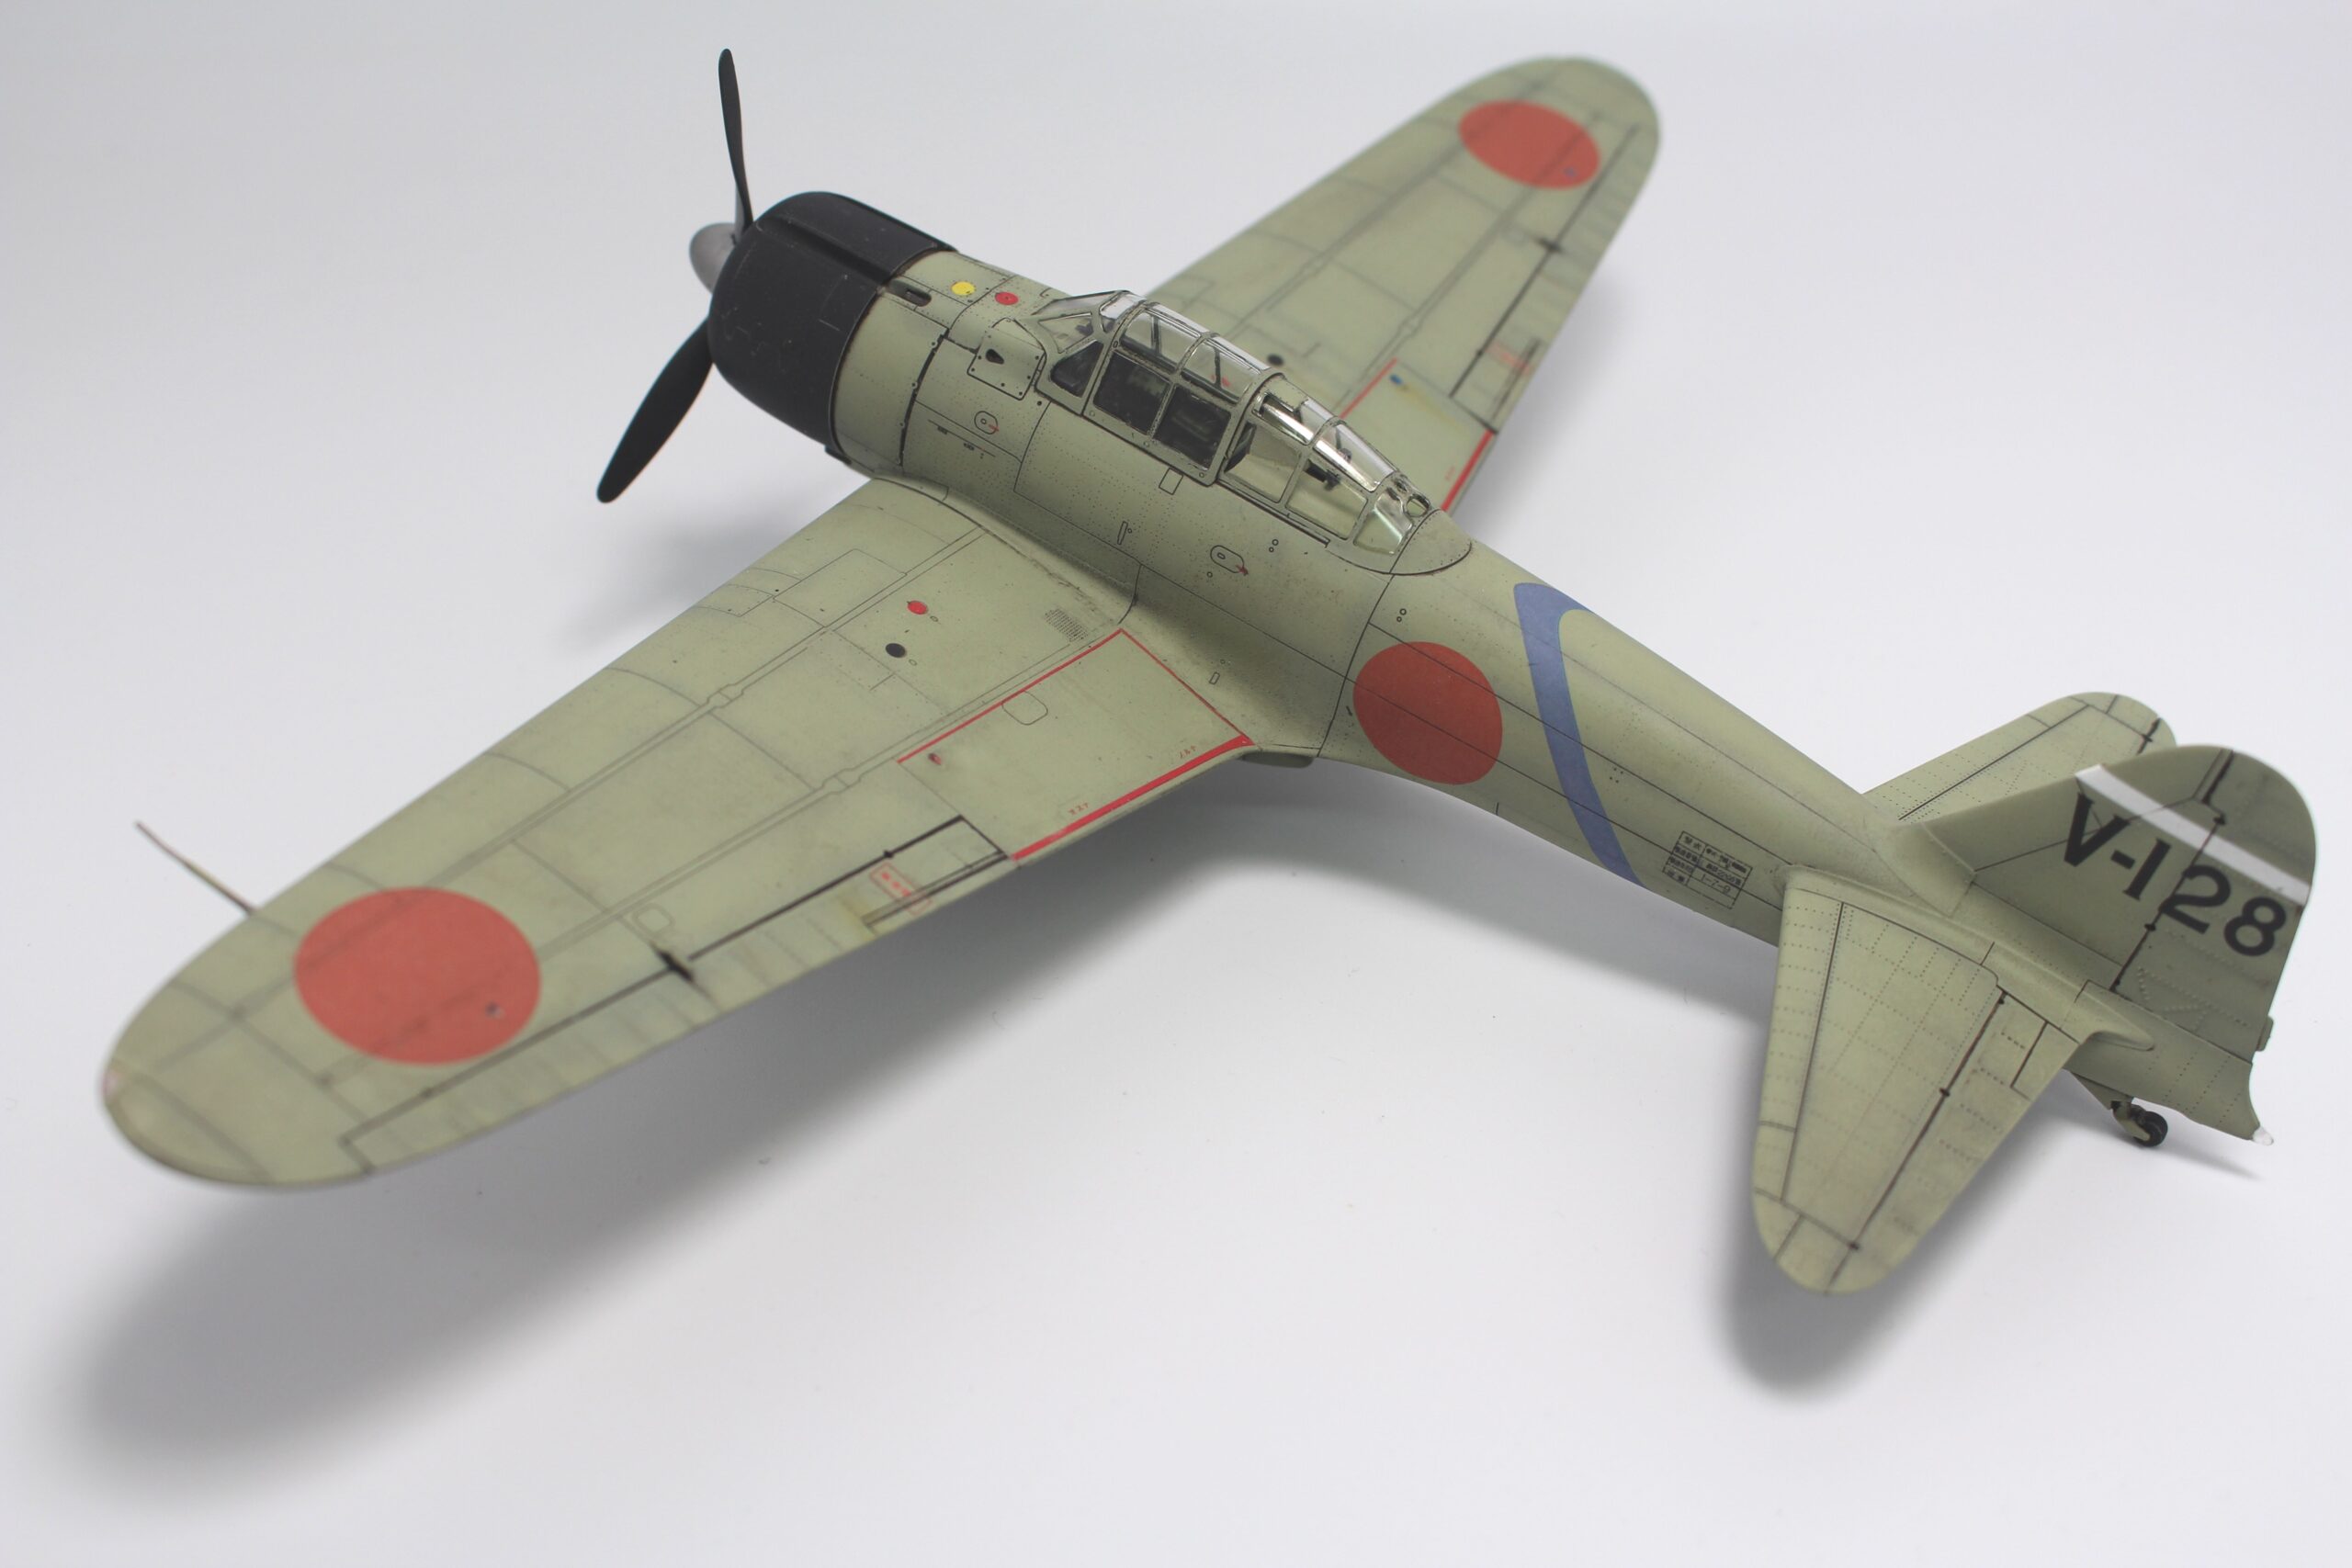
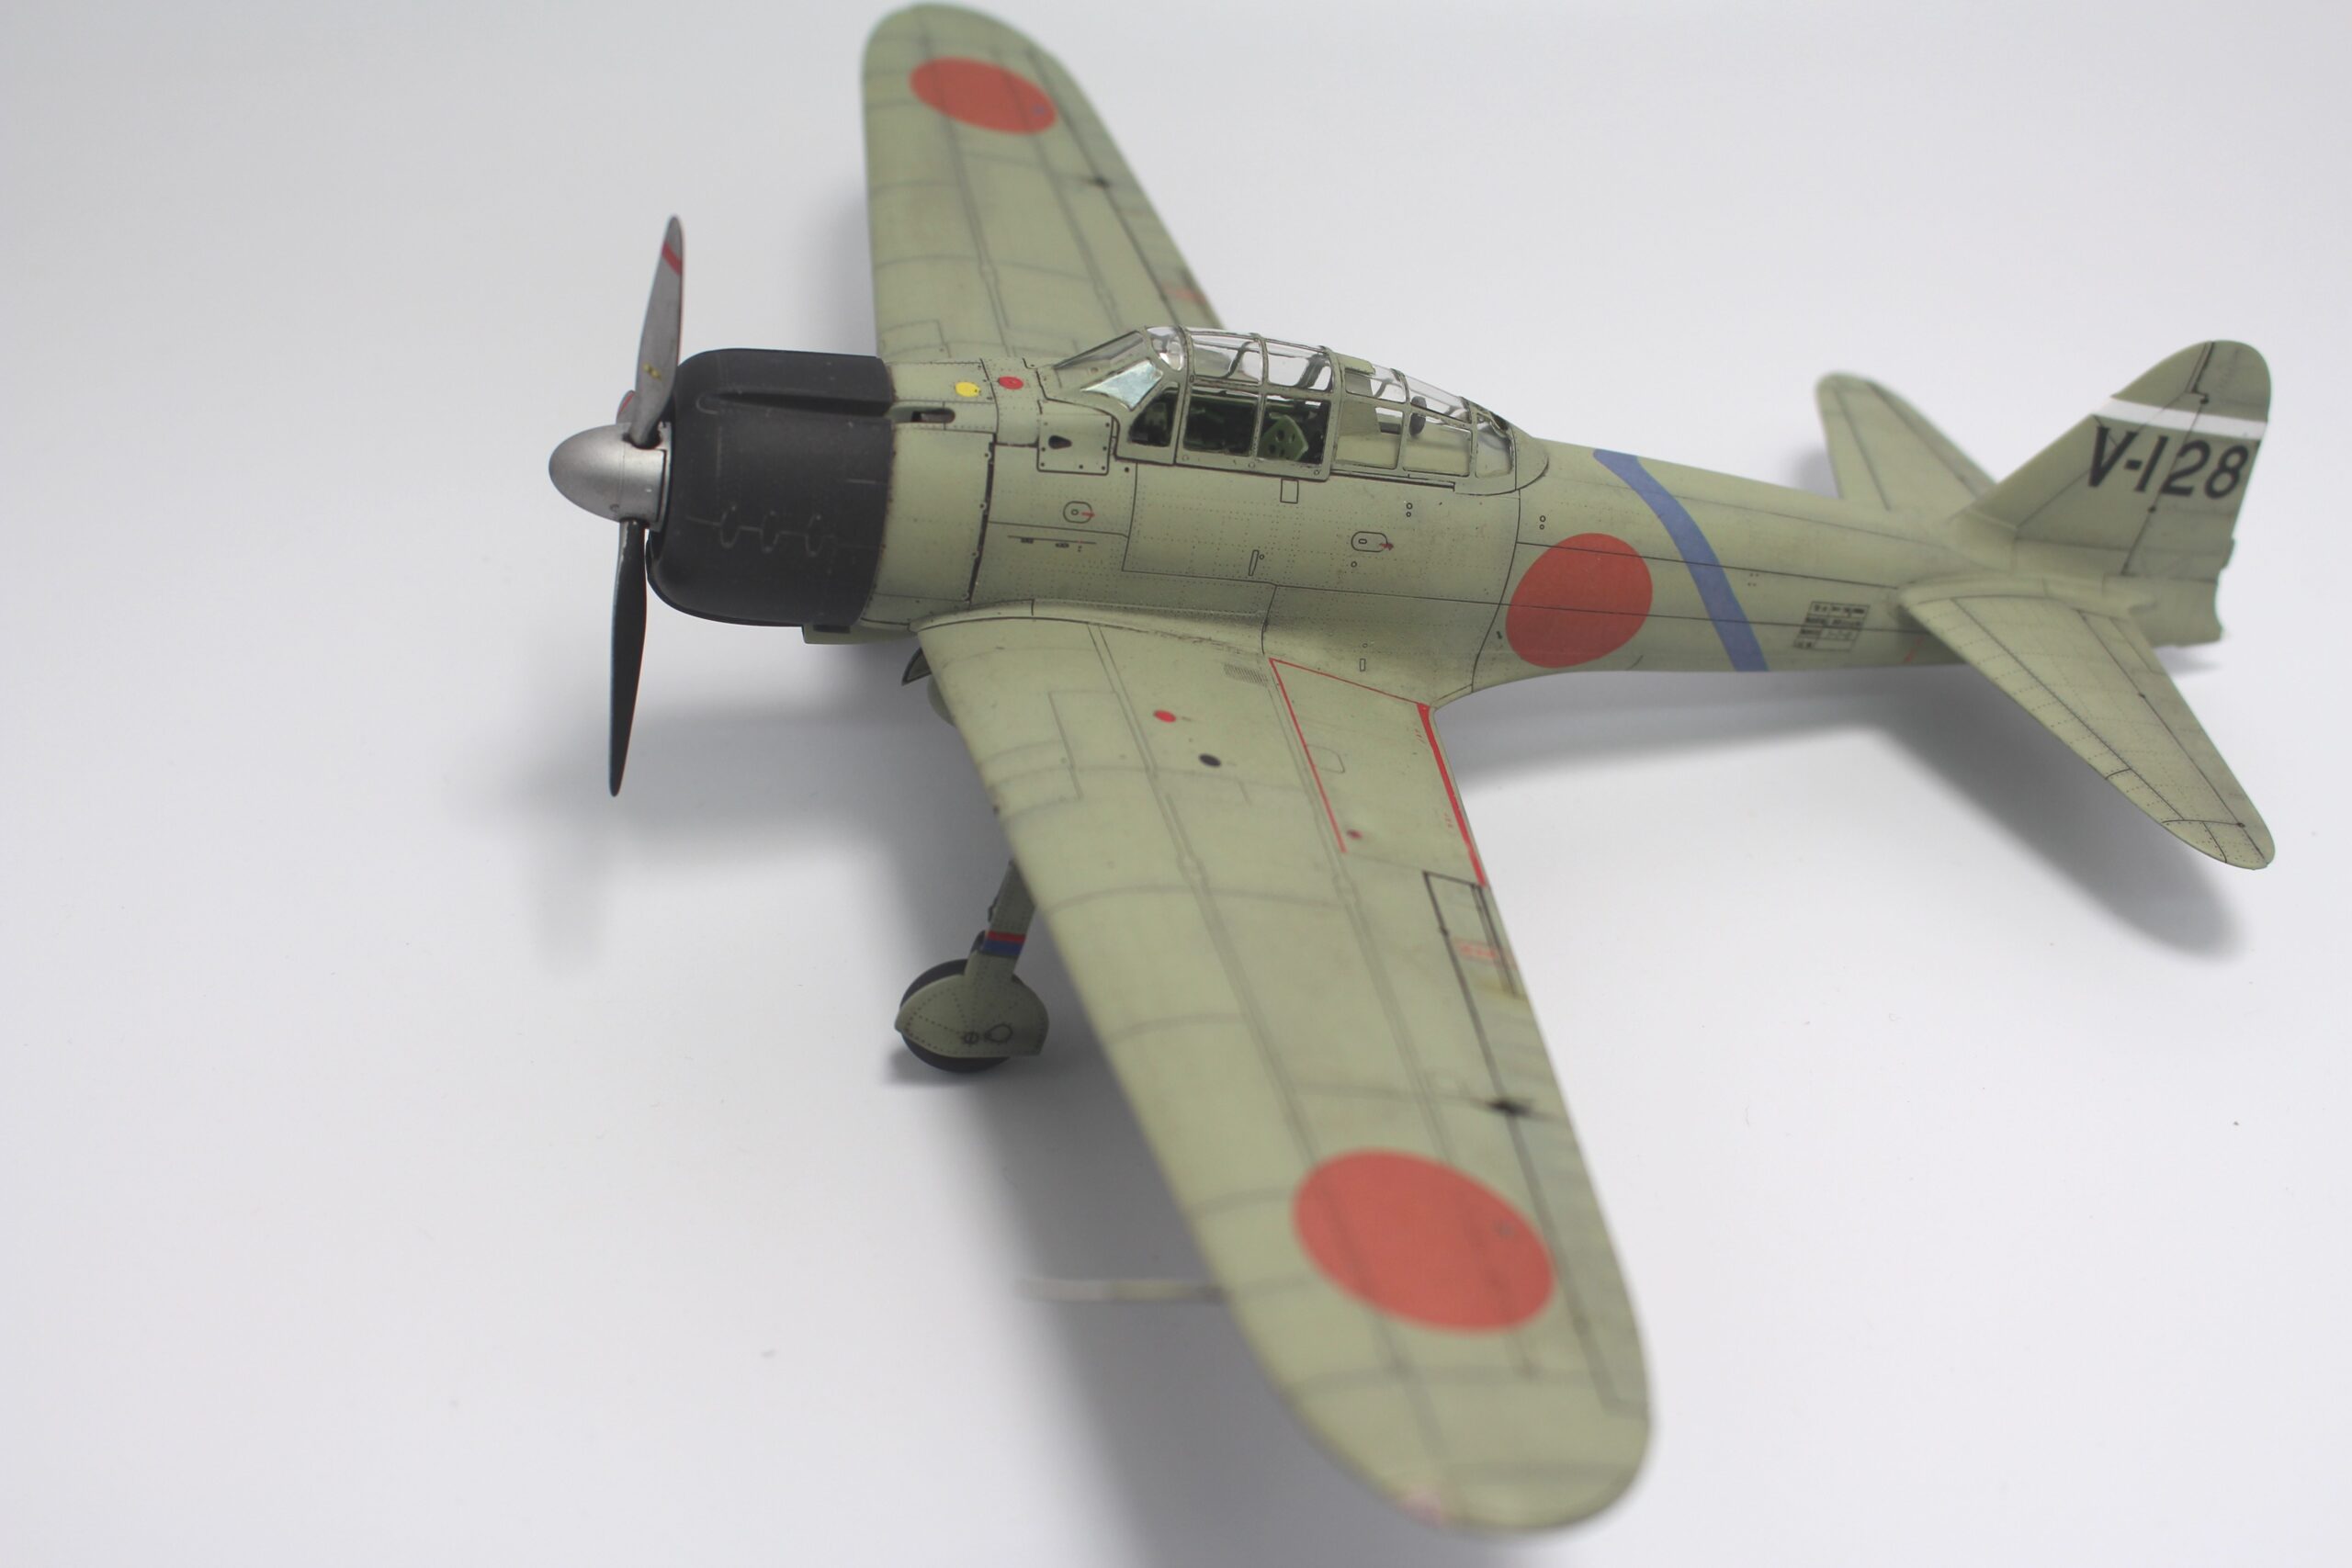
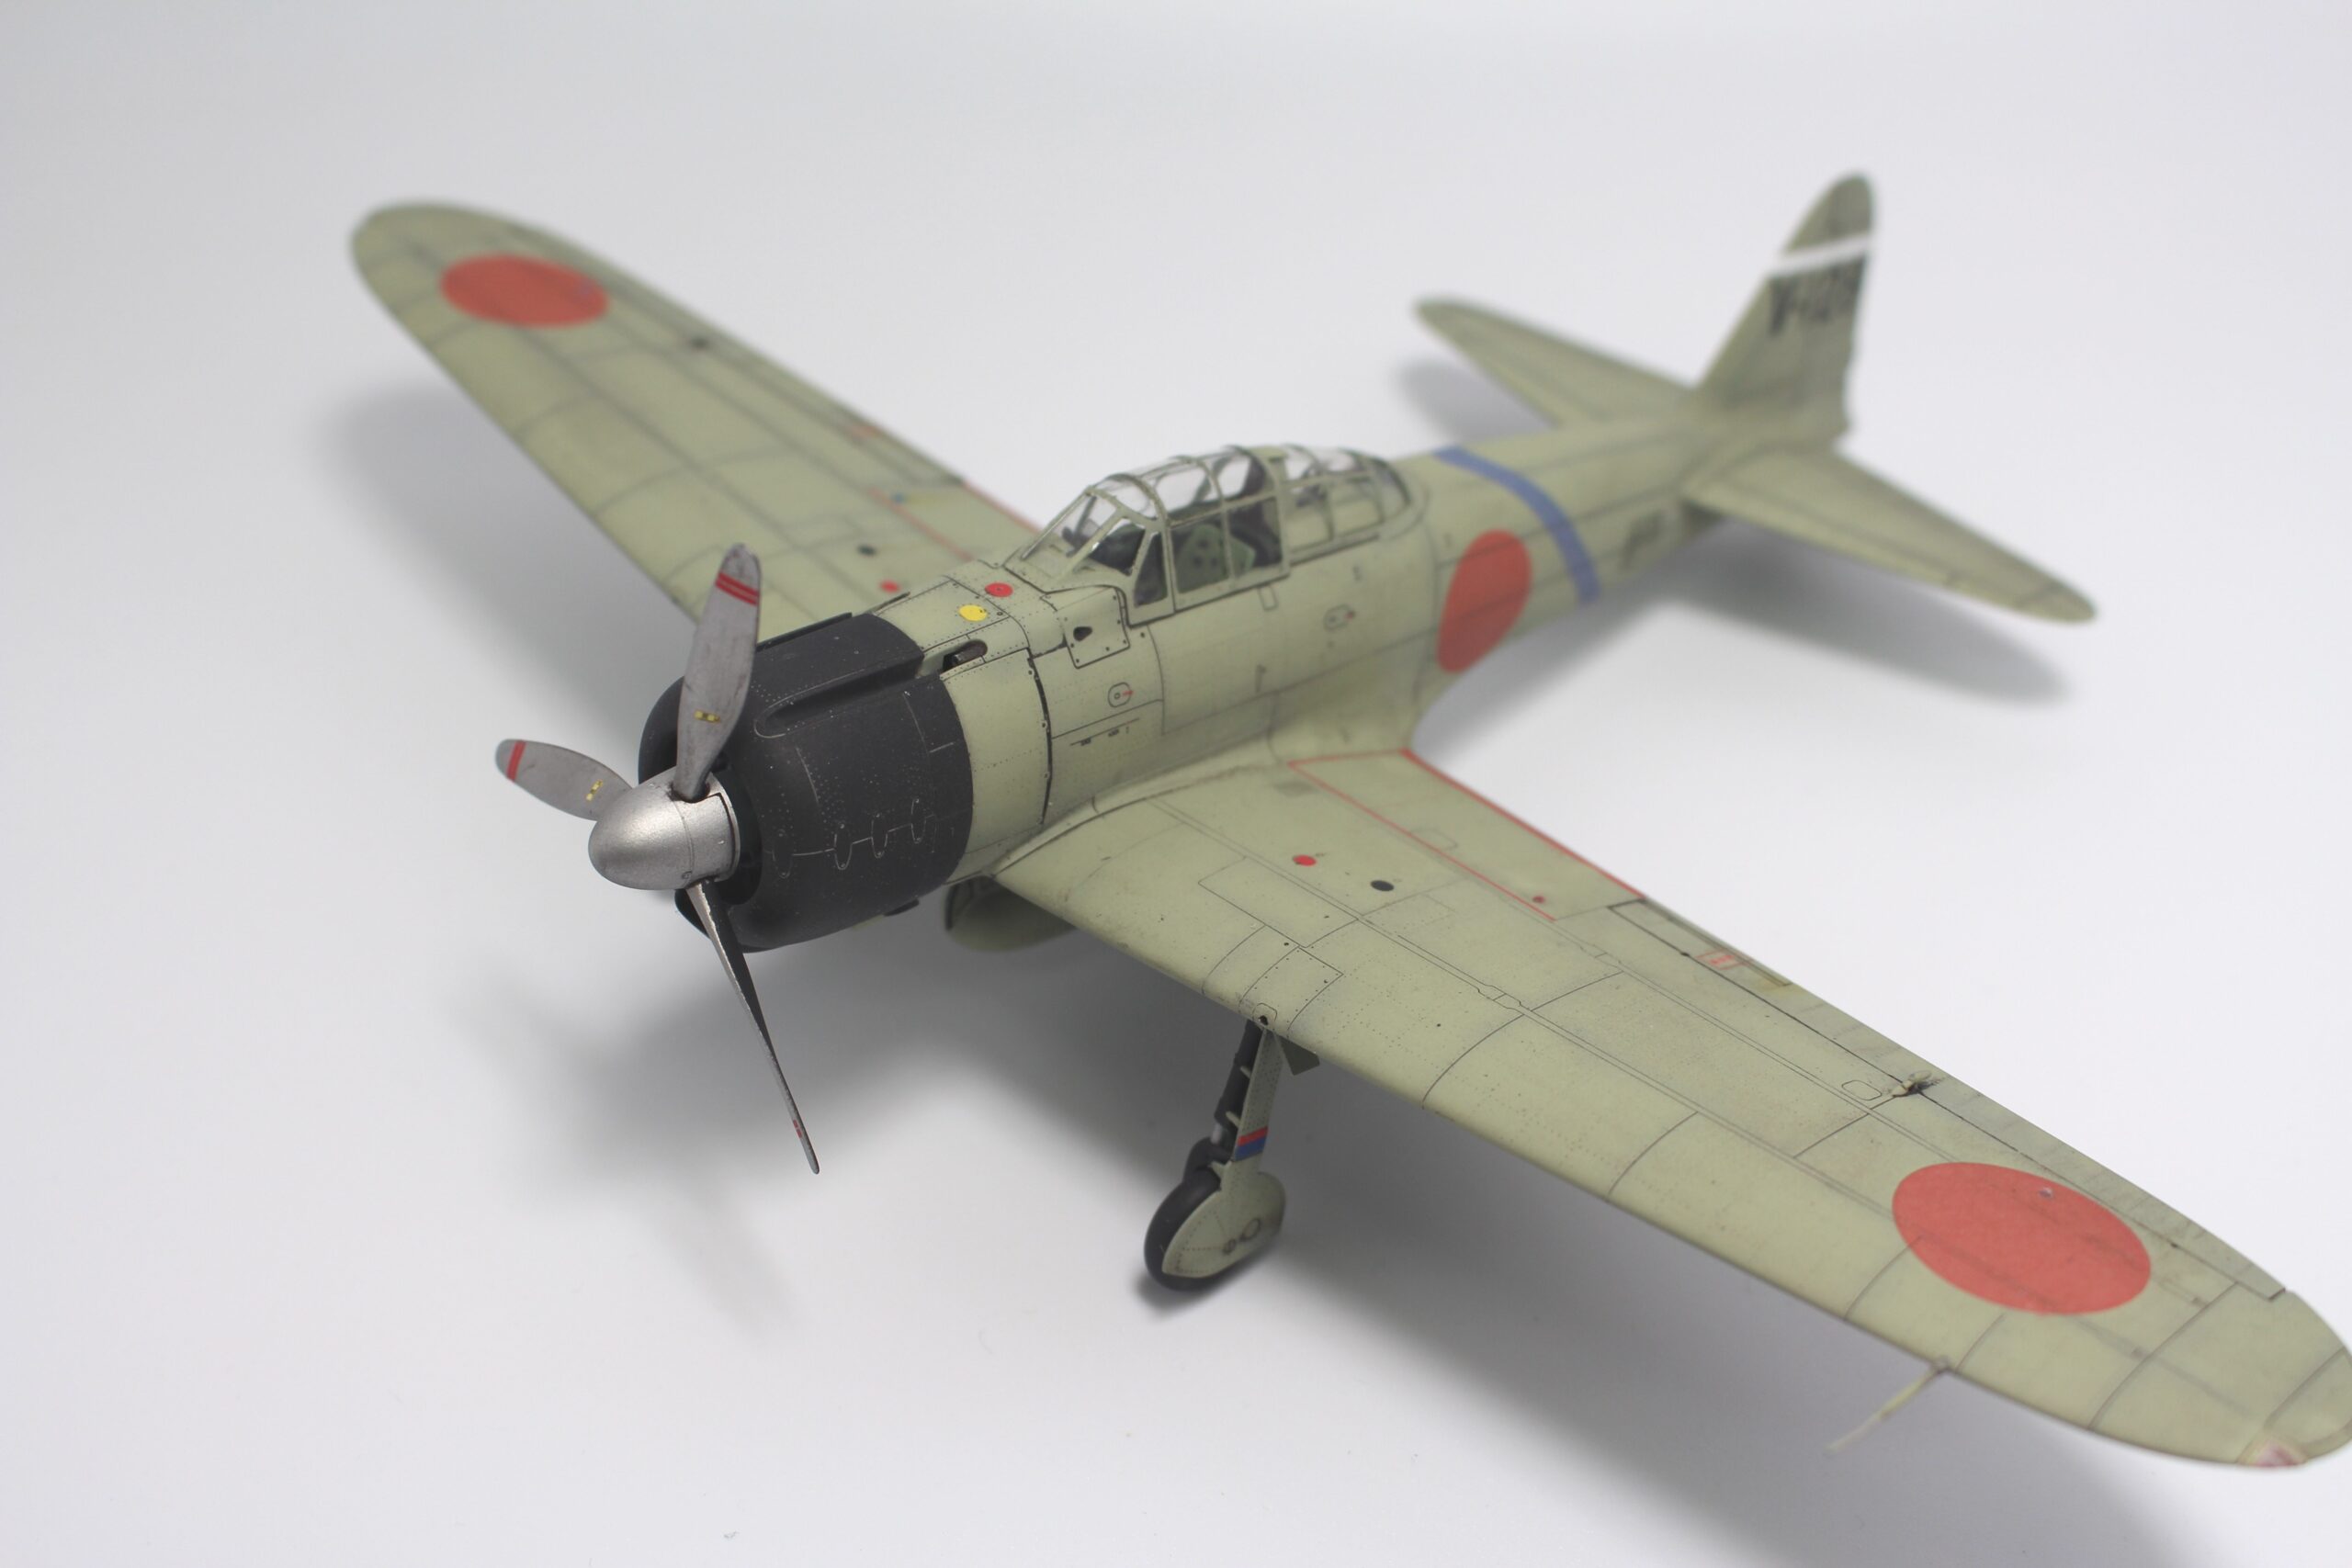
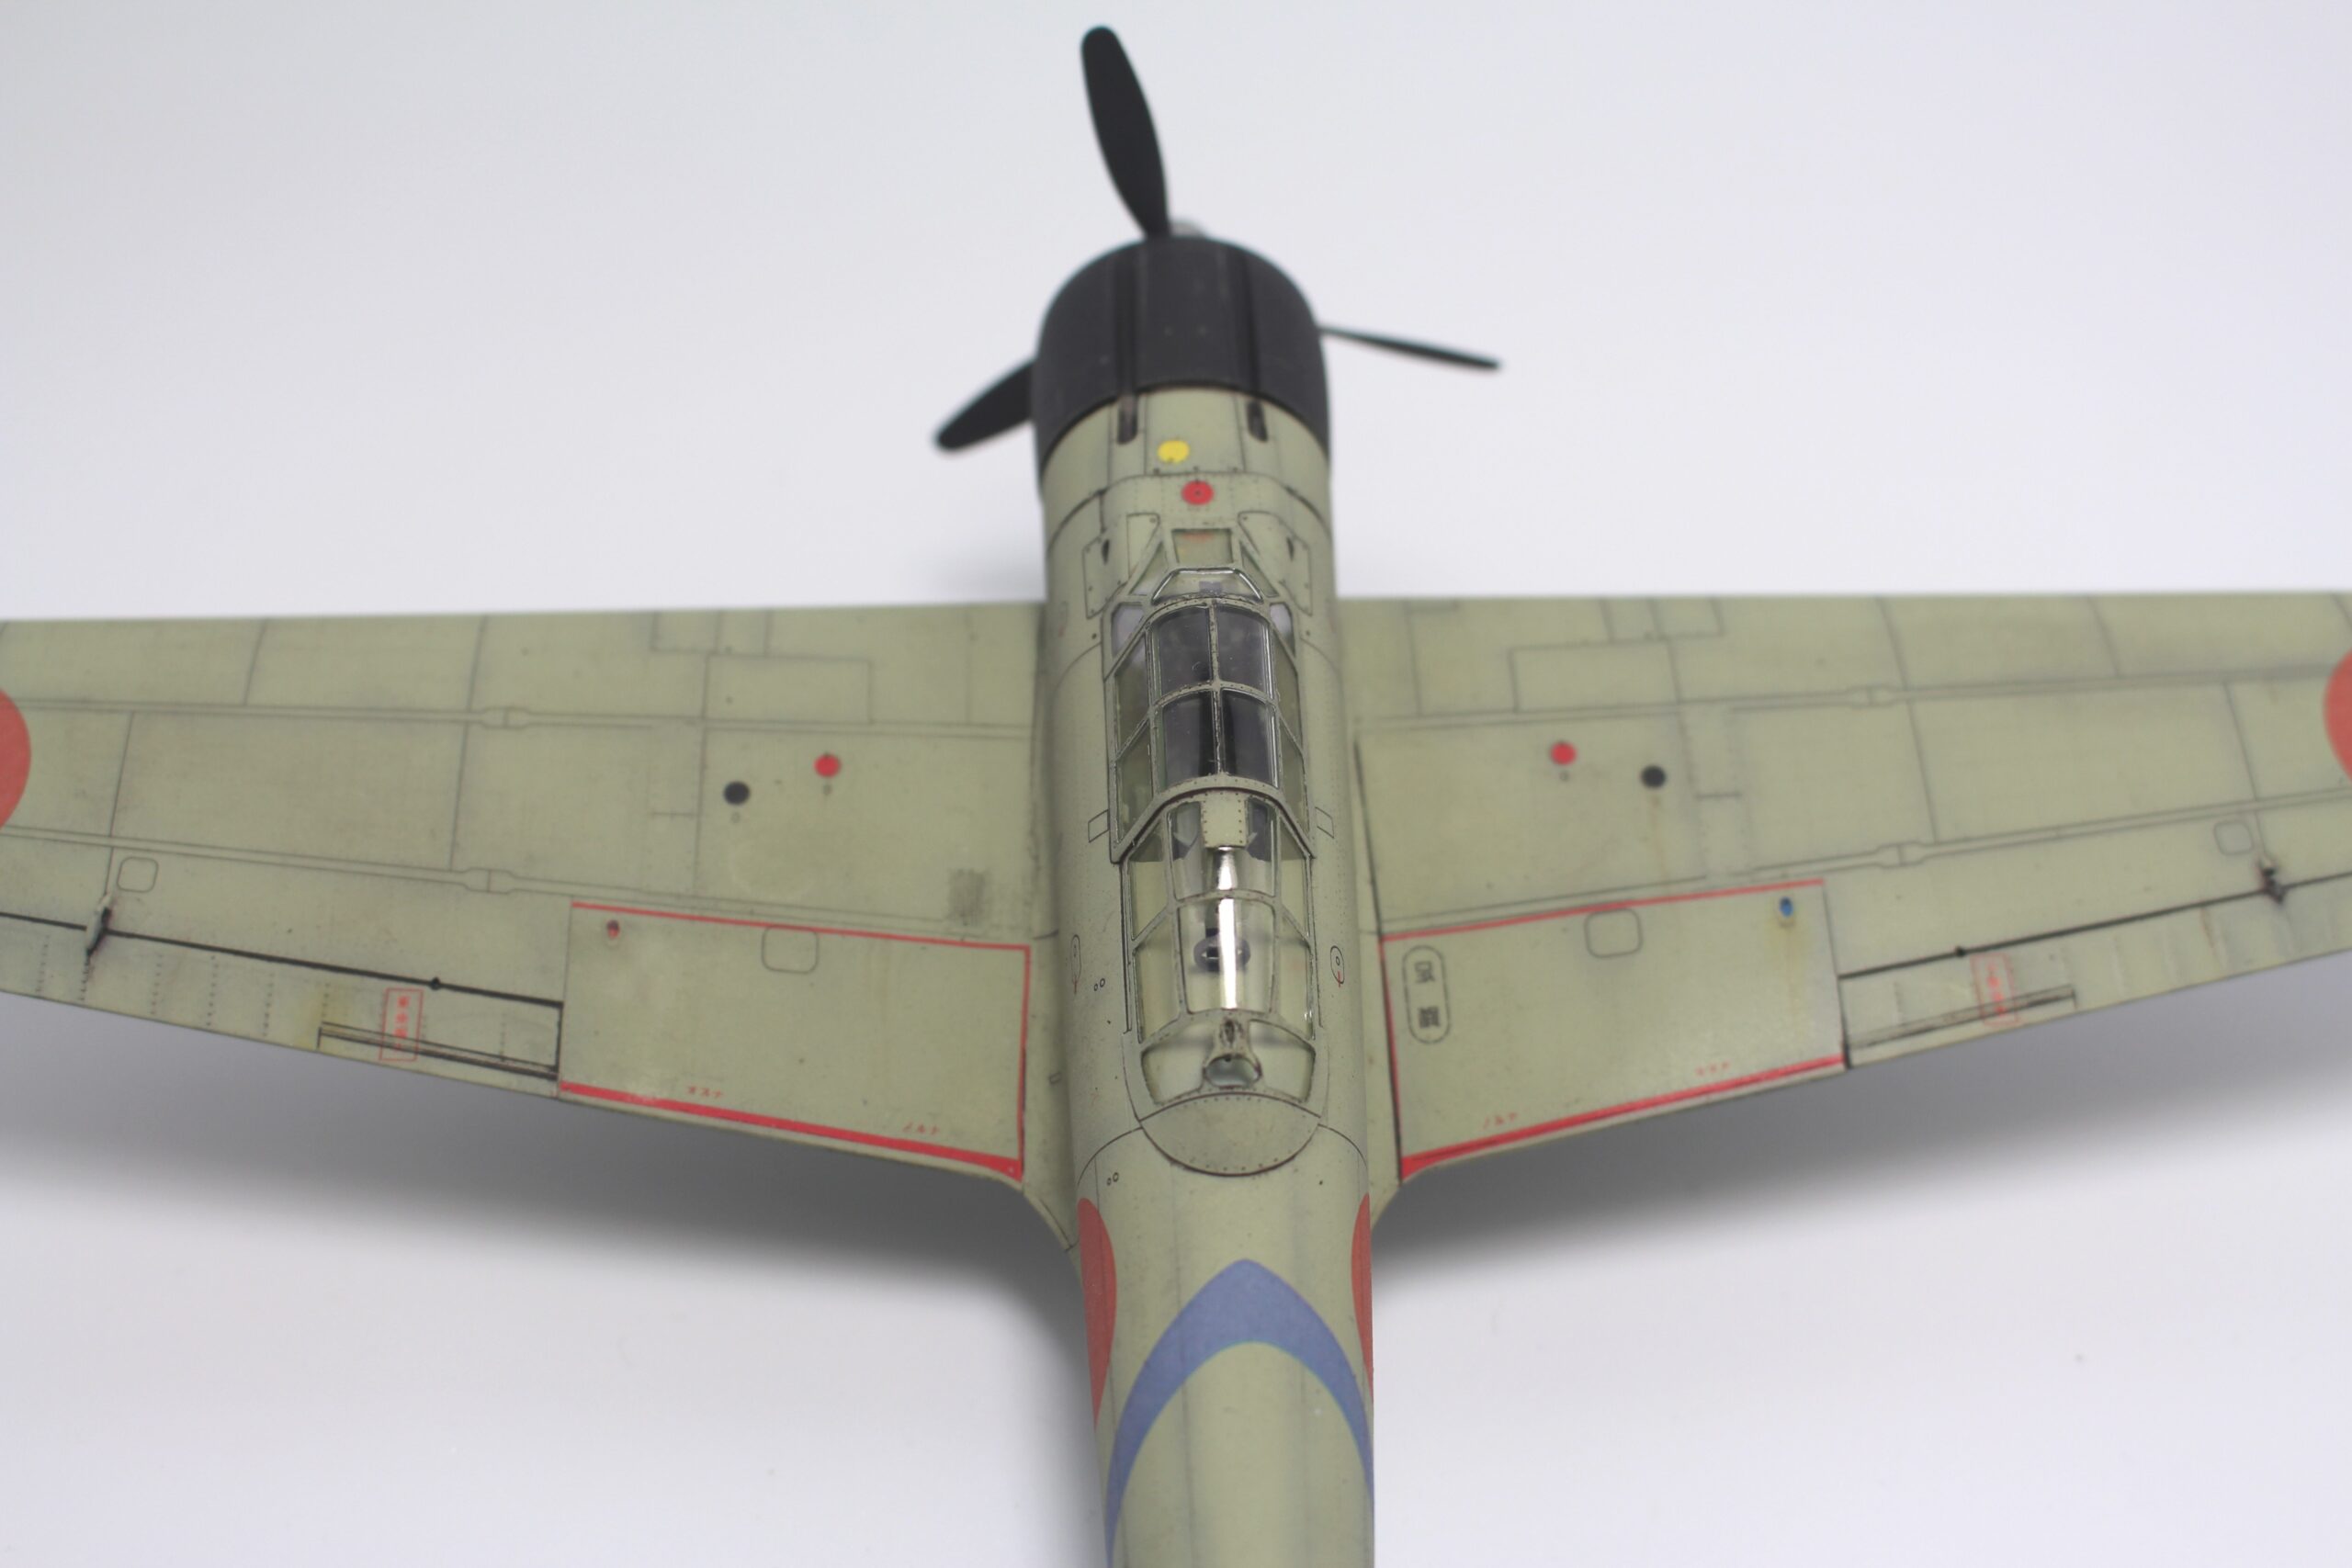
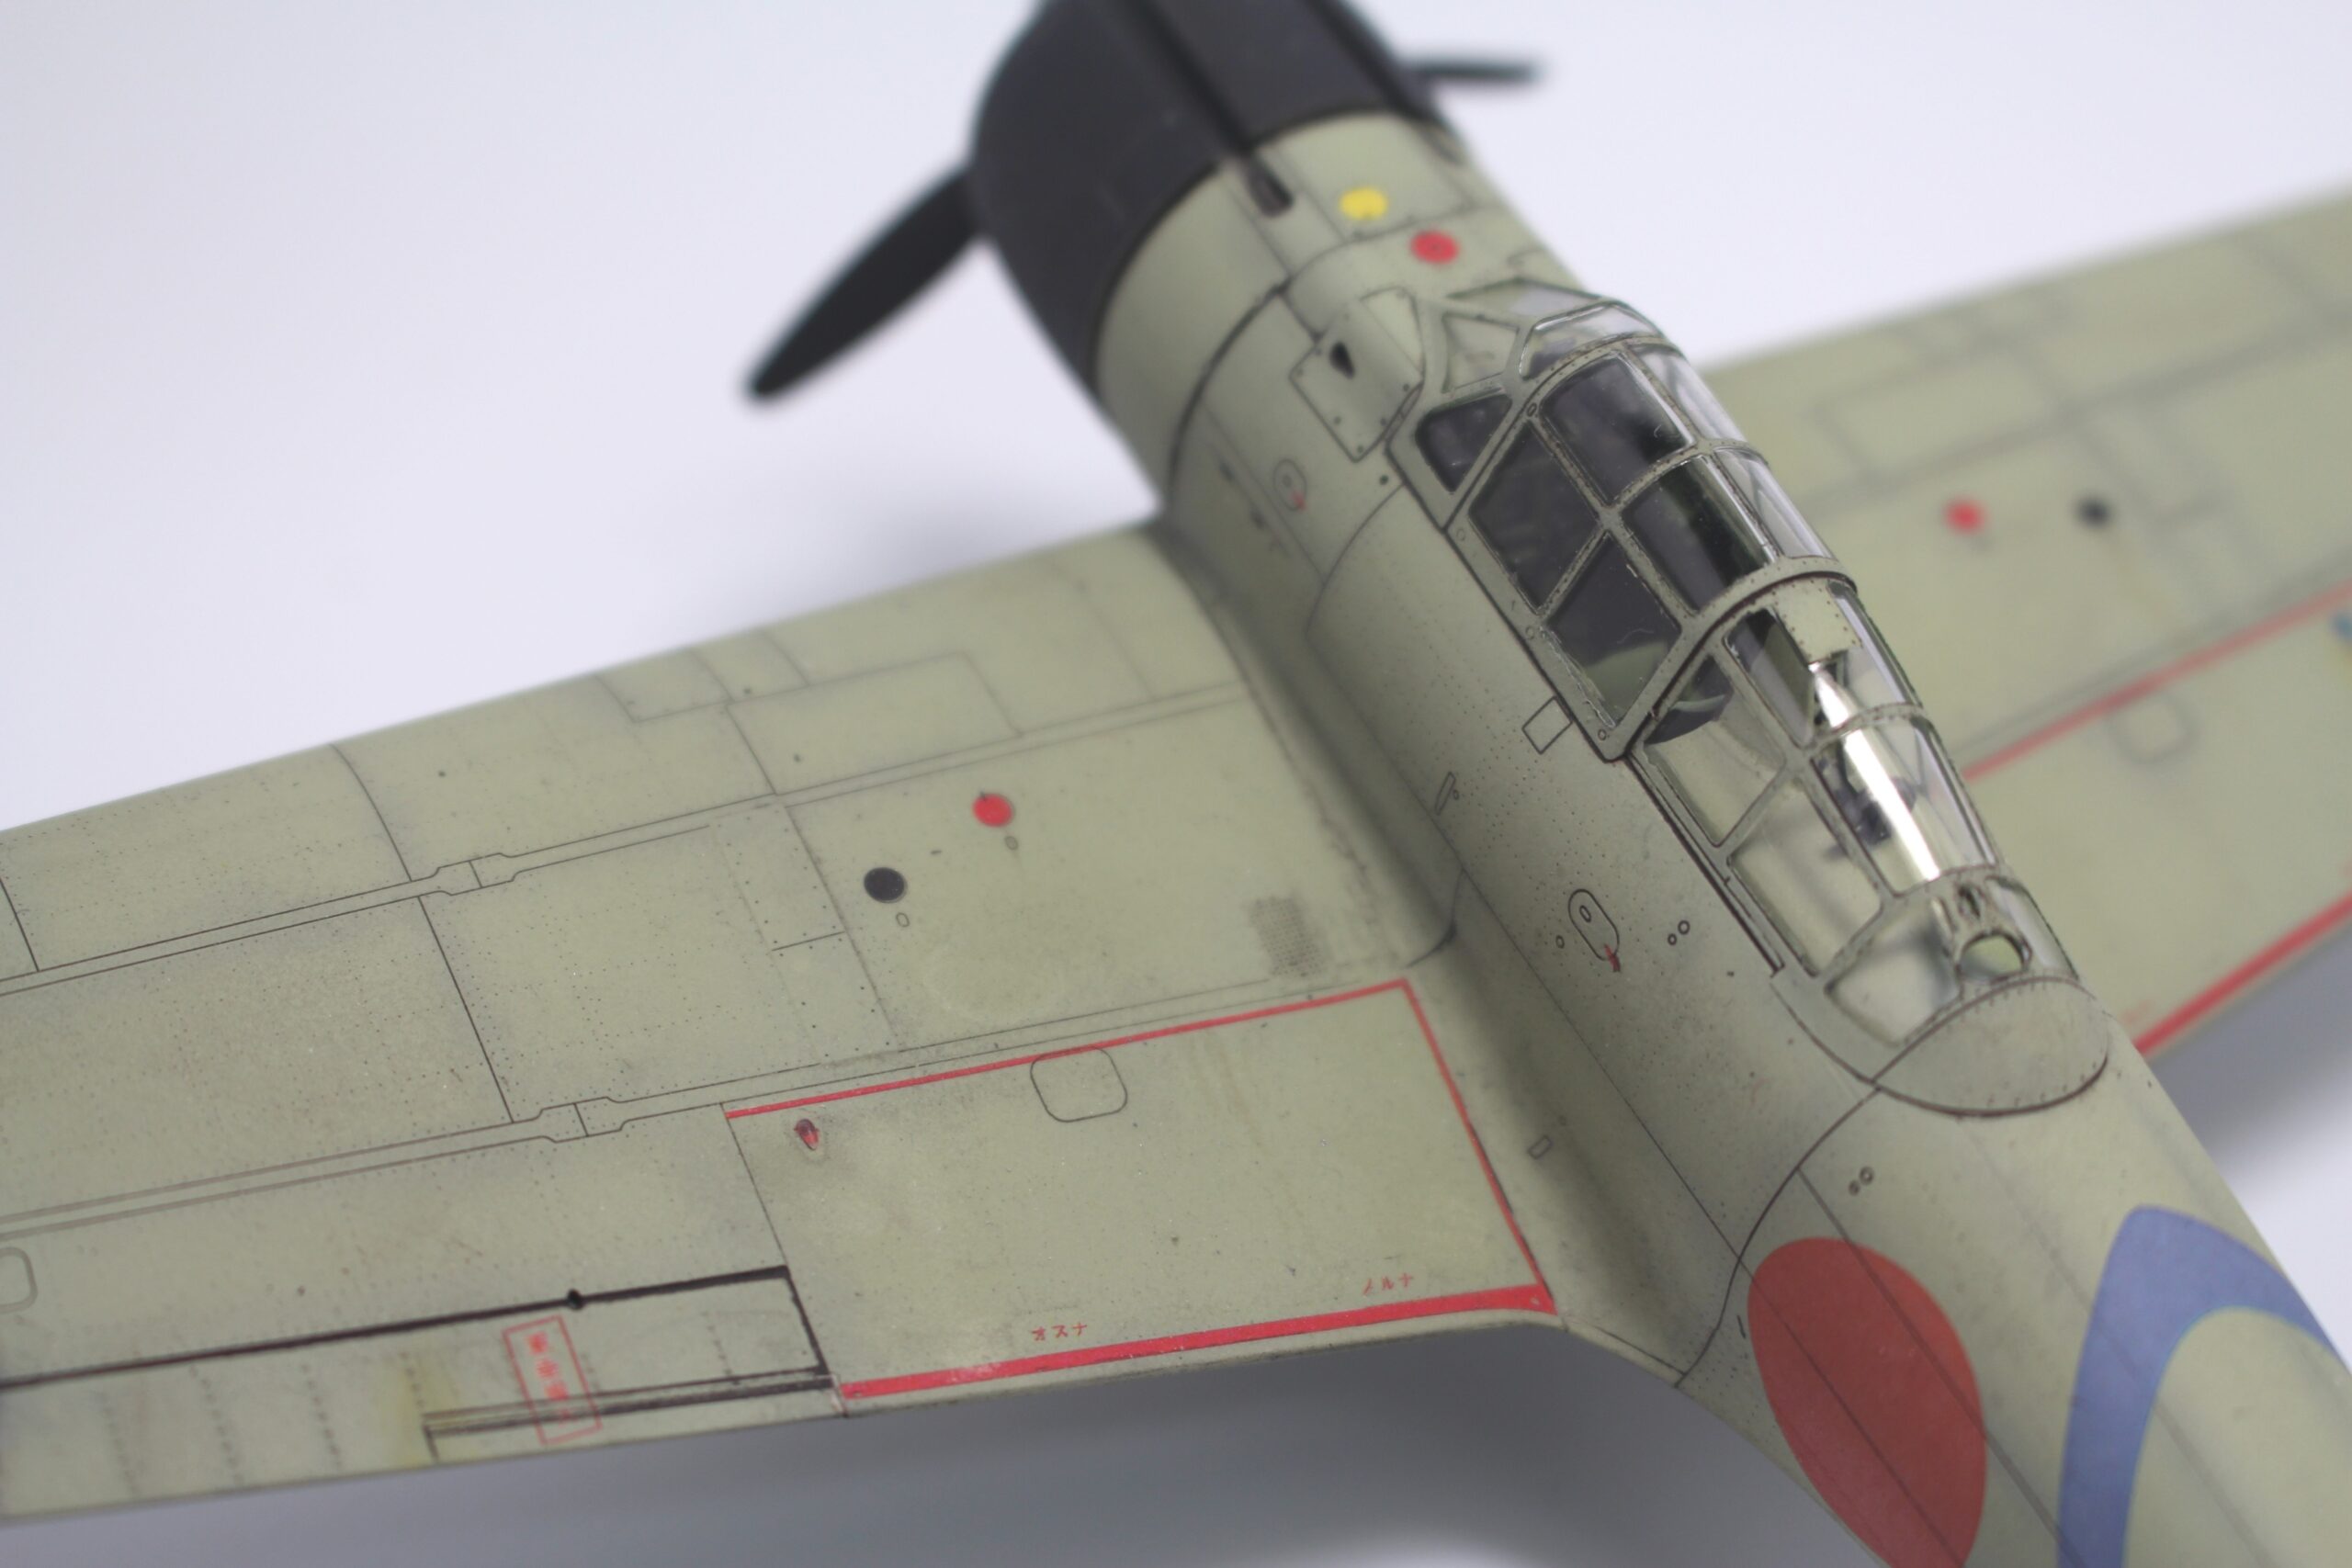
A6M2 Zero Gallery